
 Pin it
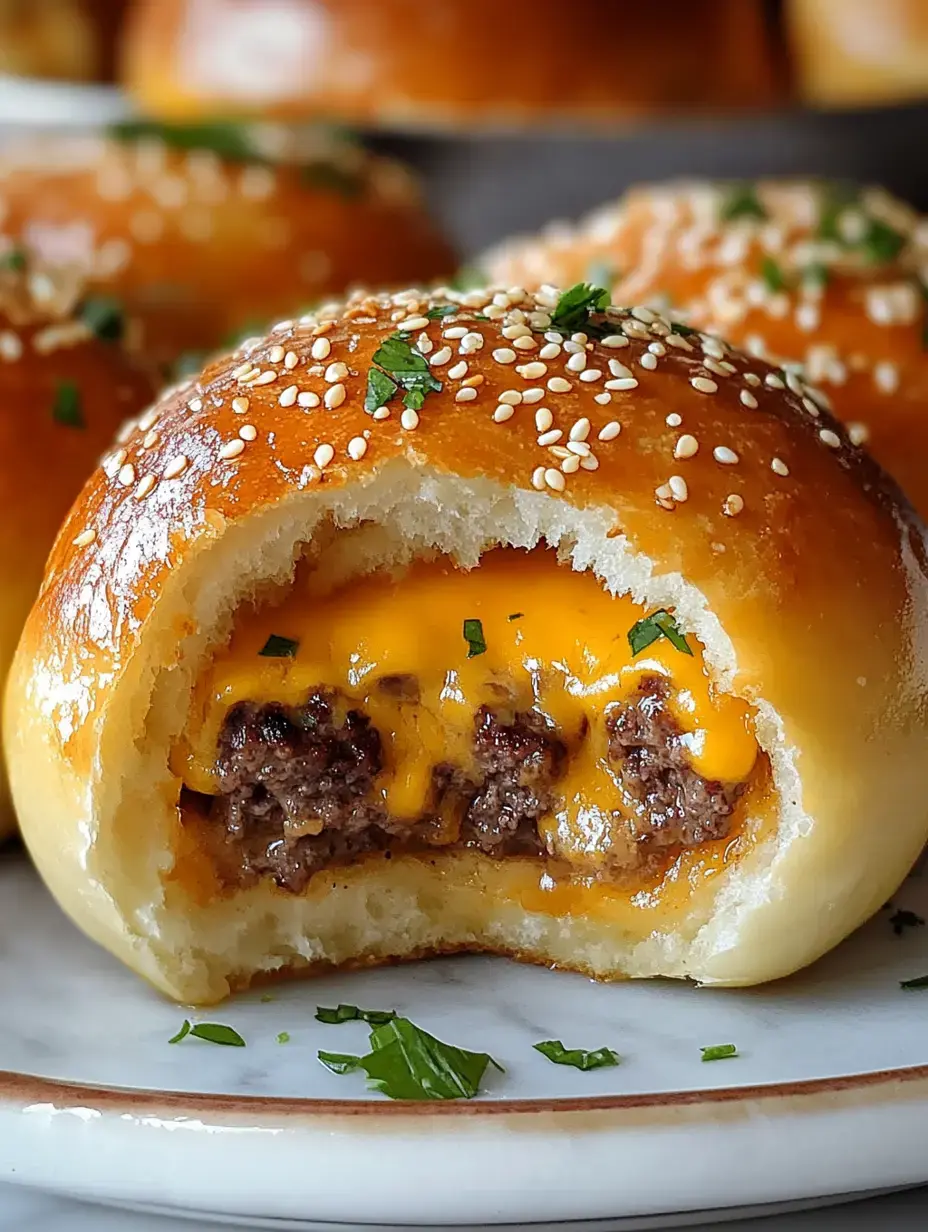
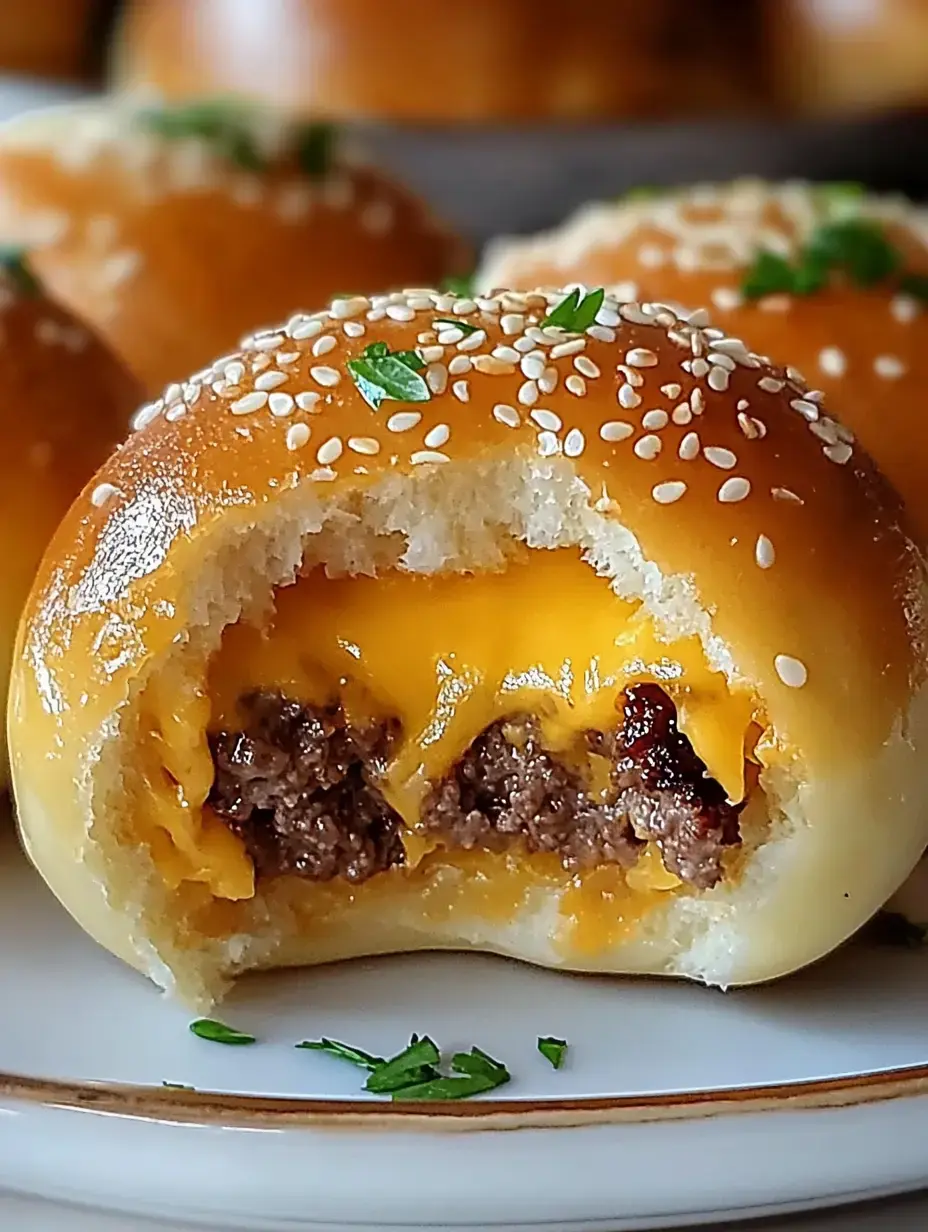
I've spent countless hours in my kitchen perfecting these Garlic Parmesan Cheeseburger Bombs, and they've become the most requested snack in our home. Everyone rushes to grab one when I pull these golden bundles from the oven. I stumbled on this creation while playing around with party bites, trying to mix the satisfaction of a juicy burger with easy-to-eat finger food. That first batch vanished within minutes, and I knew I'd hit on something truly fantastic.
Why These Stand Out
Through many test batches, I've figured out exactly what makes these bombs so addictive. When you combine that well-seasoned beef with gooey melted cheese, all wrapped in that crispy, garlic-parmesan dusted dough, it's simply unbeatable. My followers tell me they've tossed aside their standard party snacks because guests always beg to know how to make these. They're basically comfort food turned into the ultimate handheld treat.
Everything You Need
Let me break down why these bombs taste so good. I always grab lean ground beef - you get full flavor without extra grease. The cheese quality really matters - I stick with sharp cheddar for that awesome meltiness. Your dough needs to be fresh and easy to work with - the stuff from the store works great. My garlic parmesan topping took me forever to get just right - it's what makes everyone come back for seconds.
Getting Started
I'm all about being ready in my kitchen. I lay out my workspace with everything within reach - dough squares arranged, meat mixture ready, cheese all measured out. When everything's set up first, putting these together goes so much faster. My kids know something tasty's coming when they see this arrangement on the counter.
Perfect Beef Filling
You won't believe how much difference good seasoning makes in your beef mixture. I've learned to cook the meat just until it loses its pink color to keep it super juicy. Always dump out the extra fat - you want these bombs rich but not dripping. Every mouthful should have just the right mix of meat and cheese.
Working with the Dough
Getting your dough handling right makes everything easier. I've noticed that dough at room temperature is way more cooperative. Make it thin enough to fold around the filling but still thick enough to hold everything in. Put just the right amount of beef and cheese in each square - too much and they'll burst open while they're cooking.
The Magic Coating
My garlic parmesan coating turns these bombs into something unforgettable. Butter melted with fresh garlic cloves and real parmesan creates that amazing golden outer layer. Your house will smell incredible while they bake. It's that final touch that makes everyone grab another one before the first is gone.
 Pin it
Baking to Perfection
You've got to keep an eye on these bombs while they bake. That perfect golden-brown color signals they're ready to eat. I love watching the cheese start bubbling inside while the garlic parmesan coating gets wonderfully crispy. Trust me, waiting those few extra minutes brings the most amazing results.
Cheese Choices
Cheddar works great, but I can't stop trying different cheeses. Sometimes I throw in a blend of mozzarella and provolone, or maybe pepper jack when I want some heat. Every cheese adds its own twist to these bombs. My readers always share their own favorite cheese combos with me.
Success Tips
After making hundreds of these, I've picked up some must-know tricks. Always press those edges firmly to stop cheese from leaking out. Give each bomb plenty of room on the baking sheet so they get crispy all around. These small details really make the difference between okay and amazing results.
Perfect for Parties
These bombs have become my number one party food. They travel so well, stay warm for hours, and always get eaten first. I love watching friends bite into them for the first time - their faces light up instantly. They work for everything from football Sundays to fancy get-togethers.
Storing and Reheating
If you somehow end up with extras, they keep really well. A quick warm-up in the oven brings back that lovely crispiness. You can even freeze them for busy nights. Just stick them in the oven straight from the freezer when you need a quick snack.
Common Questions
People who follow my blog often wonder about making these ahead or changing up the recipe. Frozen dough works perfectly fine - just make sure it's fully thawed. You can make awesome vegetarian versions too - I often use plant-based meat for my friends who don't eat meat. These little bombs work with so many variations.
Serving Ideas
How they look matters almost as much as how they taste. For casual get-togethers, I put them on a wooden board. For fancier parties, small individual plates look really nice. Try offering different dipping sauces too - it makes eating them even more fun.
Family Favorite
These bombs have turned into a family tradition at our house. My kids jump in to help make them, so it becomes a fun activity for everyone. Even the pickiest eaters in our family love them - the familiar burger flavors wrapped in a fun package make them impossible to resist.
 Pin it
More Than Just a Recipe
These Garlic Parmesan Cheeseburger Bombs have grown beyond just another snack in my cooking collection. They're what my family constantly asks for, what friends always want me to bring to gatherings, and my reliable go-to for making any occasion better. It's amazing how sometimes the simplest food combinations create the most unforgettable eating experiences.
Frequently Asked Questions
- → Why is sealing important?
It ensures the filling stays inside and doesn't spill out as they bake up.
- → Is there any cheese substitute?
Switch it up with mozzarella, gouda, or even pepper jack for a new take.
- → Can I prep these early?
They're best hot and fresh, but you can prepare them ahead and bake when needed.
- → Which dips pair nicely?
Go for ketchup, ranch, or even a tangy aioli for a delicious match.
- → How should leftovers be handled?
Pop them in the fridge in a sealed container, then warm them up in the oven for a better texture.