
 Pin it
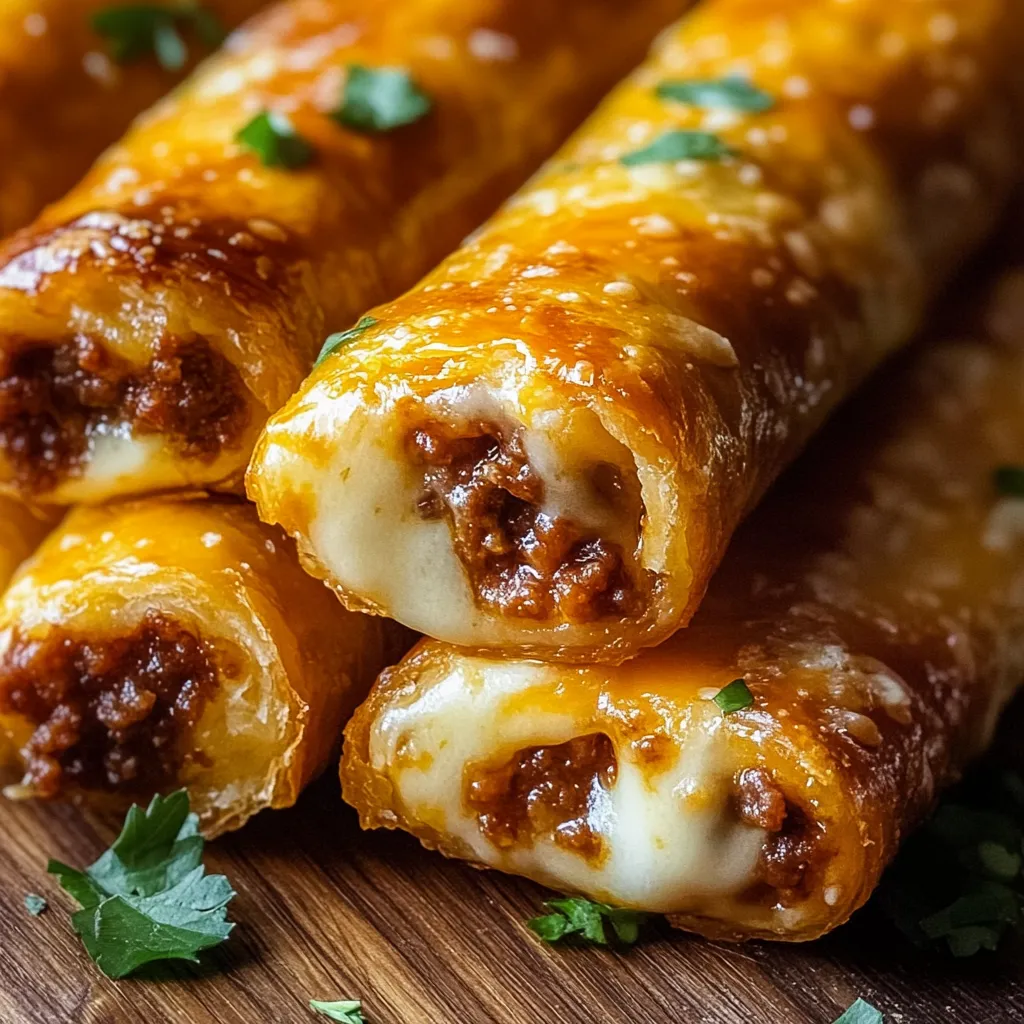
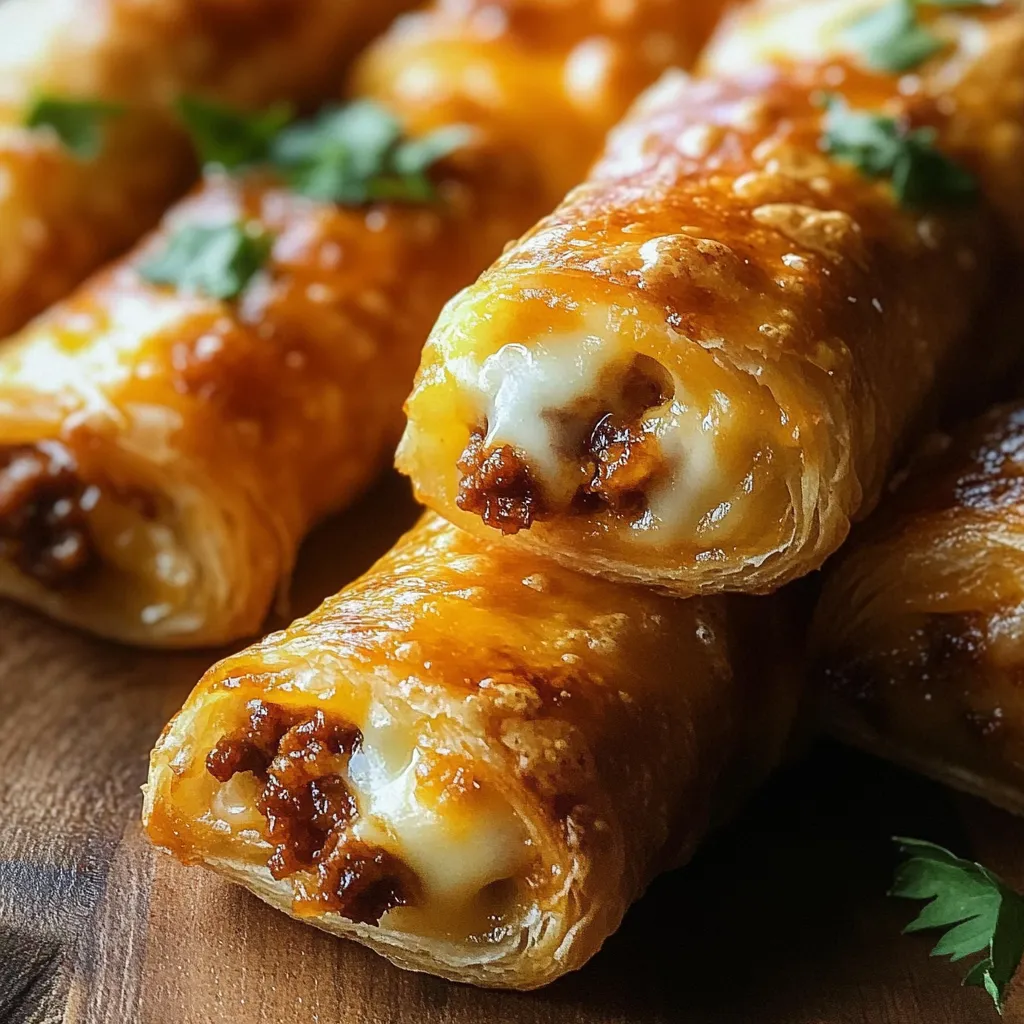
Spice up your dinner with these mouthwatering cheesy taco sticks that wrap seasoned ground meat and gooey cheese in a flaky, golden crust. This fun spin on classic tacos gives you a handy, flavor-loaded treat that'll change how you think about weeknight meals. Every bite gives you the perfect mix of tangy filling and crispy outer layer that'll keep you coming back for more.
I whipped these taco sticks up for a Saturday get-together and they were gone before I could even tell folks they were ready to eat. That crunchy outside with the melty cheese inside made such a hit that my family now asks for them at every single gathering.
Must-Have Tools
- Good quality ground beef: Go for 80/20 meat-to-fat mix for the juiciest results
- Block cheese you shred yourself: Store-bought shredded cheese doesn't melt as nicely
- Refrigerated pizza dough: New dough works way better than anything from the freezer
- Real taco seasoning: Pick one without extra junk or chemicals
- Baking paper: Helps them brown evenly and doesn't let them stick
Making Your Tasty Treats
- Cook The Beef
- Break beef into tiny bits in a heated pan, making sure the pieces are uniform.
- Look for that rich brown color that means extra flavor.
- Add Flavor Boost
- Toss taco mix all over the browned meat, mixing so every bit gets coated.
- Let the spices warm up and release their smells.
- Roll Out Dough
- Flatten dough into even rectangles on a slightly floury counter, keeping thickness the same everywhere for even cooking.
- Fill And Form
- Put meat and cheese down the middle of each dough piece, then carefully seal the edges so nothing escapes while baking.
- Twist Into Shape
- Carefully turn each piece into a pretty spiral, then put them on your baking sheets with plenty of room between them.
- Bake Till Ready
- Cook until they turn a deep gold color, turning the pans halfway to make sure they get crispy all over.
 Pin it
My grandma always told me to let the meat mixture cool down a bit before putting it on the dough. This little trick keeps the cheese from melting too soon and makes the whole process much simpler.
Tasty Companions
Make these sticks into a full dinner by adding fresh tomato salsa, corn salad with Mexican spices, or rice with cilantro and lime. When friends come over, put them on a big plate with different sauces for dipping.
Mix It Up Options
Try switching up your cheese - maybe pepper jack if you want some kick or a Mexican blend for authentic taste. You can swap ground turkey or chicken if you want something lighter, or use black beans instead for a meat-free option.
Keeping Them Crispy
If you have leftovers, keep them crunchy by putting them in a paper bag on your counter for up to a day. Warm them in a hot oven for 5 minutes to get that crispiness back.
 Pin it
These taco sticks have turned into my go-to dish for potlucks, always getting tons of compliments and folks asking how I made them. The secret's in using good stuff and putting them together carefully - when you pay attention to each step, you end up with this amazing mix of Mexican tastes and comfort food that nobody can resist.
Frequently Asked Questions
- → Could I swap out the cheese?
- For a different taste, use Monterey Jack, mozzarella, or pepper jack.
- → What’s an alternative to store-bought pizza dough?
- Homemade dough or crescent rolls work just as well!
- → How do I keep leftovers fresh?
- Pop them in the fridge in a sealed container for up to 3 days. Crisp them back up in the oven when reheating.
- → Can I prep these beforehand?
- Sure! Freeze assembled sticks on a tray, move to a freezer bag, and bake straight from frozen. Just add a few minutes.
- → Is it okay to add veggies to the mix?
- Definitely! Mix in onions, bell peppers, or jalapeños for extra flavor.