
 Pin it
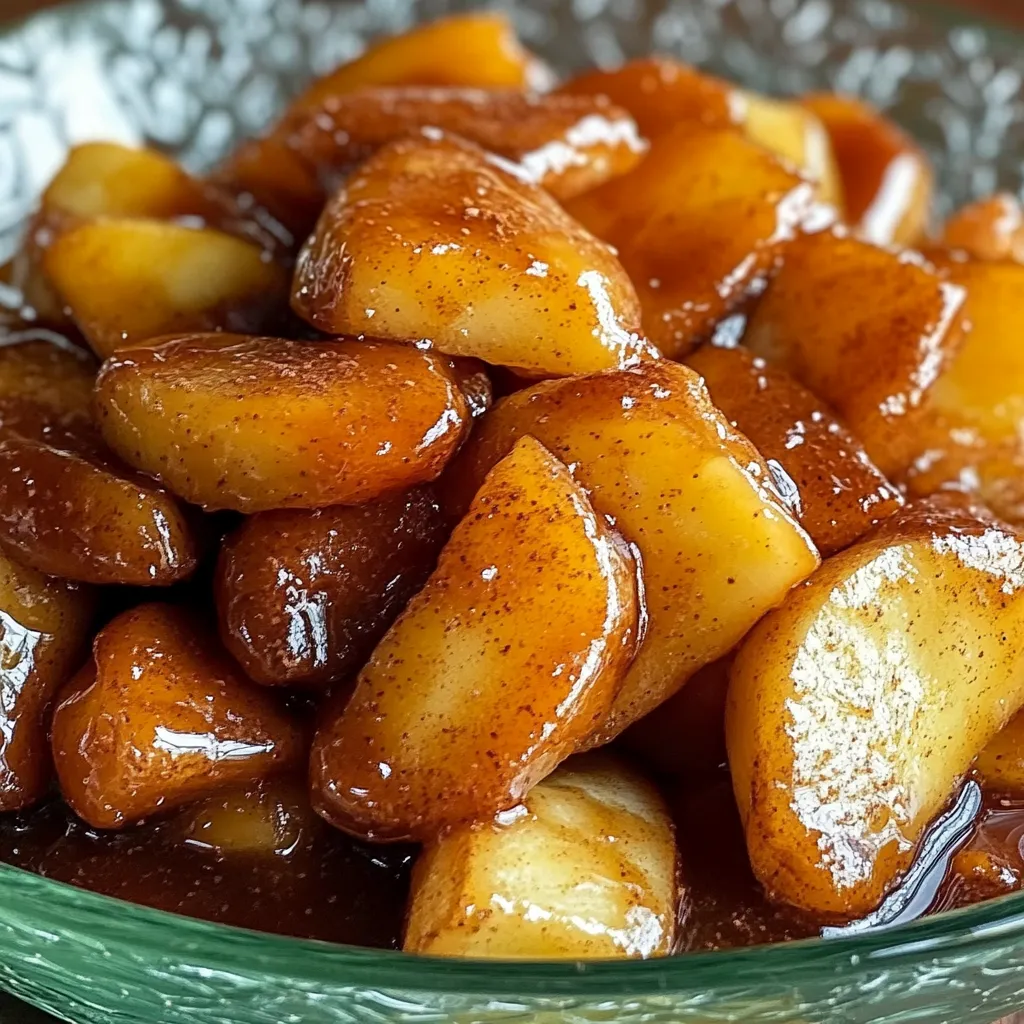
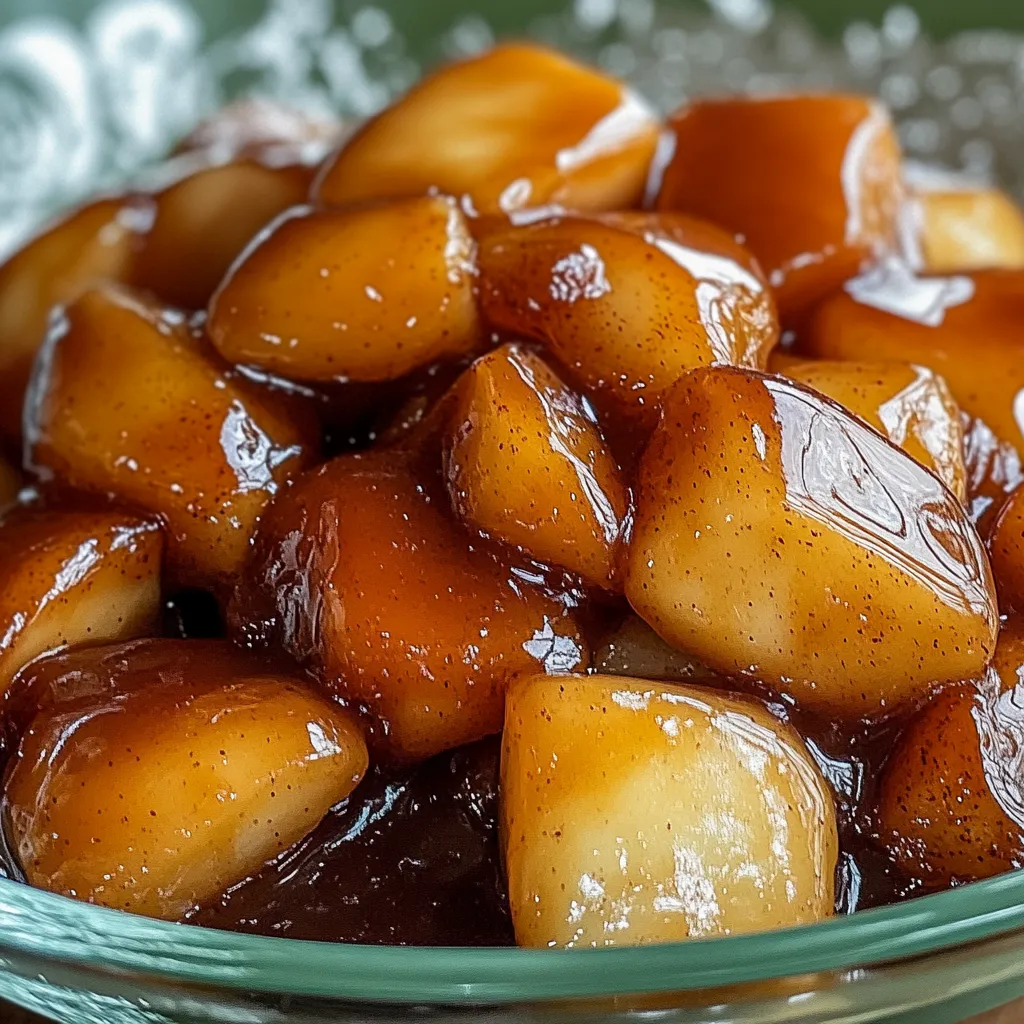
A wonderful mix of sour apples cooked in a rich brown sugar glaze with cozy cinnamon flavor, these homemade Cracker Barrel Fried Apples bring that restaurant goodness straight to your home. This flexible treat works beautifully from morning meal to sweet finale, delivering that special caramel sweetness and soft apple bite that's made the classic so popular. What began as a country breakfast favorite has grown into a cherished dish that perfectly captures down-home cooking at its best.
When I first made these apples at home, I found that picking the right apple type and getting that caramel just right makes all the difference.
Key Ingredients Breakdown
- Granny Smith apples: they give the best bite and tanginess
- Actual butter: don't go with alternatives
- Dark brown sugar: brings those deep caramel flavors
- Freshly ground cinnamon: really enhances the taste
- Lemon juice: keeps apples from turning brown
Step-By-Step Cooking Guide
- Step 1: Getting Apples Ready
- Pick hard, sour apples
- Slice into even pieces
- Splash with lemon juice
- Step 2: Making Your Sauce
- Let butter melt gently
- Mix in sugar bit by bit
- Look for it to turn caramel-like
- Step 3: Cooking Method
- Keep at medium temperature
- Put lid on for better results
- Give it a mix now and then
- Step 4: Checking If Done
- Poke apples for softness
- Sauce should stick to your spoon
- Watch for amber coloring
- Step 5: Final Adjustments
- Tweak flavors if needed
- Cool down slightly
- Enjoy while still hot
 Pin it
Smart Apple Picking
Each type of apple has different amounts of pectin and acids, which changes how they cook. Granny Smiths stay firm because they've got more pectin, and their natural sourness works against the brown sugar's sweetness, creating that true Cracker Barrel taste we all love.
Secret Chef Tricks
- Make all apple pieces the same size so they cook evenly
- Throw in a tiny bit of salt to boost sweetness
- Start with butter from the fridge for better sauce
- Keep the lid on for the first half of cooking time
- Let everything sit for 5 minutes after cooking
 Pin it
Keeping It Fresh
Pop leftover apples in a sealed container and keep in the fridge up to 4 days. When you want them again, warm slowly on the stove or in the microwave, maybe adding a splash of apple cider to bring the sauce back to life.
Great Companion Foods
- Plain vanilla ice cream
- Fresh buttermilk pancakes
- Traditional oatmeal
- Simple pound cake
- Fluffy whipped cream
Changing With The Seasons
Apples in fall and winter are usually harder and tastier, making them perfect for this dish. Try mixing different apples based on what's available now. Honeycrisps add extra sweetness while Pink Ladies bring more tang to the mix.
Getting The Sauce Just Right
The trick to that famous Cracker Barrel sauce is all about timing. Begin with low-medium heat to melt the sugar completely before turning it up. This makes a smooth, caramel sauce that wraps around every apple chunk perfectly.
The Food Science Part
Knowing about the Maillard reaction helps make this dish amazing. As sugars turn to caramel and mix with proteins, they create complex flavor bits that give these apples their special taste. The milk solids in butter also get toasty, adding even more flavor layers.
Final Thoughts
These homemade Cracker Barrel Fried Apples aren't just a knockoff. They show how simple stuff can make something really special. You can have them with breakfast, as dessert, or anytime you want something warm and comforting. Just remember to be patient while cooking and use good ingredients. Get those two things right, and you'll have a treat that's even better than what you'd get at the restaurant.
Frequently Asked Questions
- → Can I pick sweet apples instead?
- No problem! Just know tart apples give a nice sweet-tart balance.
- → What can I use if I don’t have a cast-iron pan?
- Go with any sturdy skillet that spreads heat evenly.
- → Can I make these earlier in the day?
- Sure thing! Reheat them lightly before serving and they’re good to go.
- → Is this plant-based?
- Not quite, since it uses butter. Swap to vegan butter and you’re all set.
- → What’s the best way to save extras?
- Pop them in an airtight box in the fridge for up to 3 days. Warm them up before eating.