
 Pin it
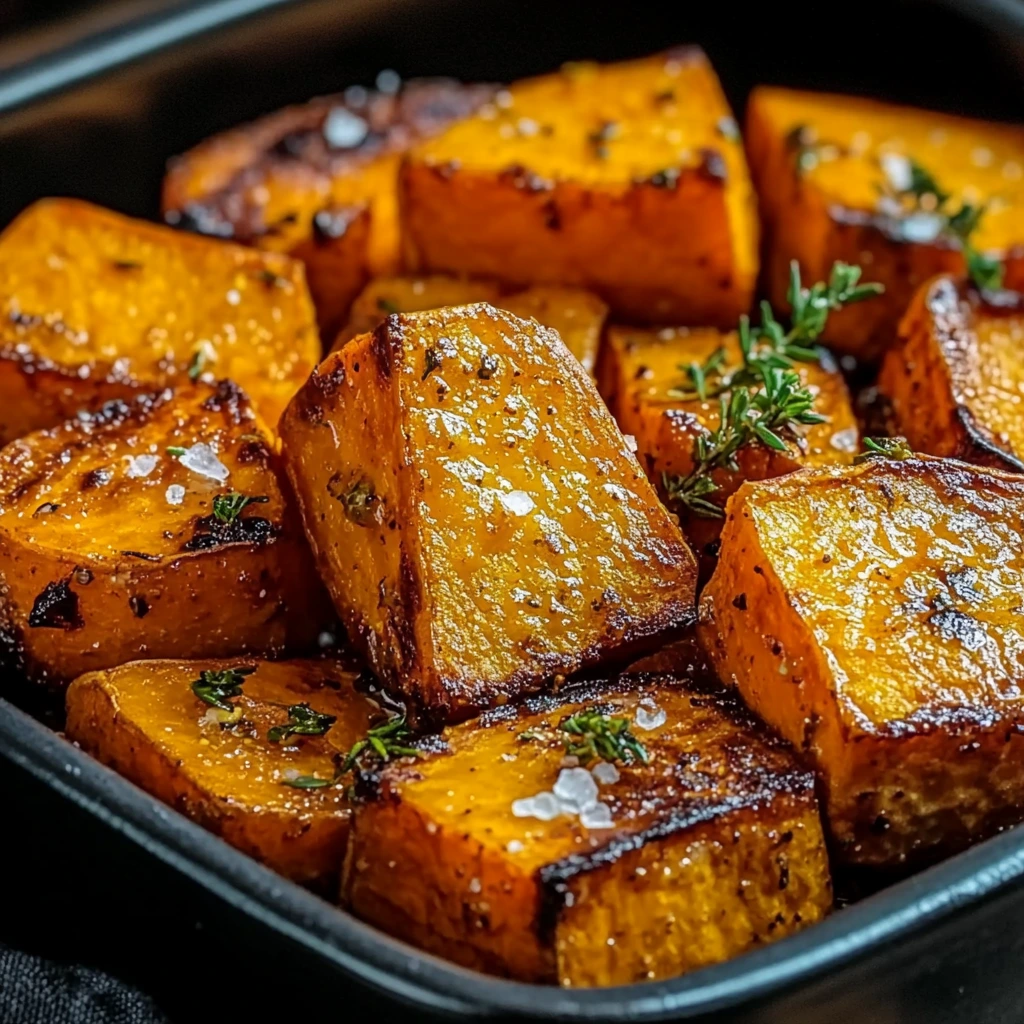
Take one mouthful of these buttery garlic-roasted sweet potatoes and you'll never look at this simple veggie the same way again. They're not your run-of-the-mill sweet potatoes – you get that amazing crisp exterior, soft middle, and a luscious garlic butter coating that works its way into every bite. The natural sweetness plays off the savory butter so well, making a side dish that often gets more attention than whatever you serve it with.
Since I found this cooking trick, I can't go back to plain sweet potatoes anymore. Now my relatives ask for these at every family get-together, and the dish is always scraped clean!
Key Ingredients Breakdown
- Sweet potatoes: grab ones that feel solid with smooth skin and deep orange coloring. I've found medium-sized ones cut more evenly
- Fresh garlic: don't cut corners with the jarred stuff – you need fresh cloves for the best flavor. Pick tight, firm heads
- Quality butter: really matters here – I like to use unsalted European butter because it's creamier and tastes richer
- Fresh parsley: adds that pop of freshness – pick bunches with bright green leaves that aren't yellowing
Step-by-Step Cooking Guide
- 1. Preparation Phase
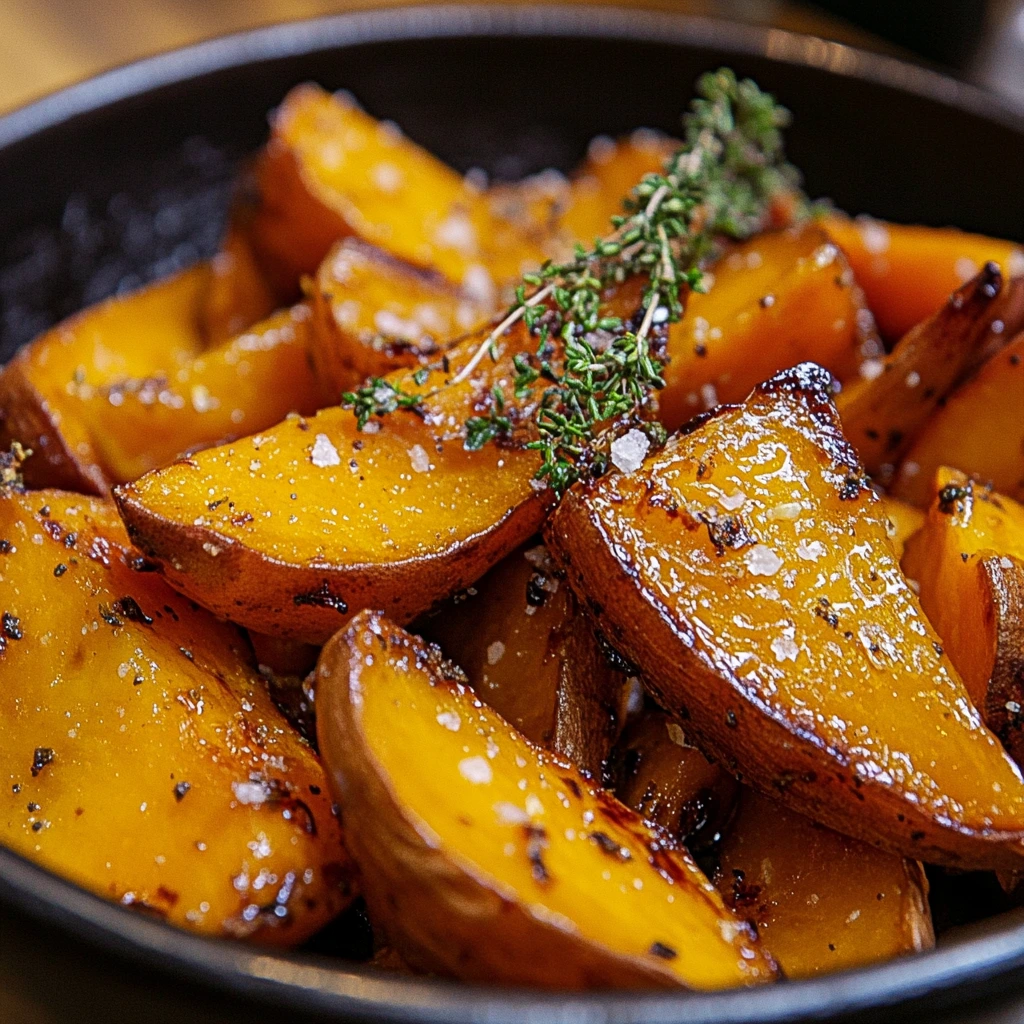
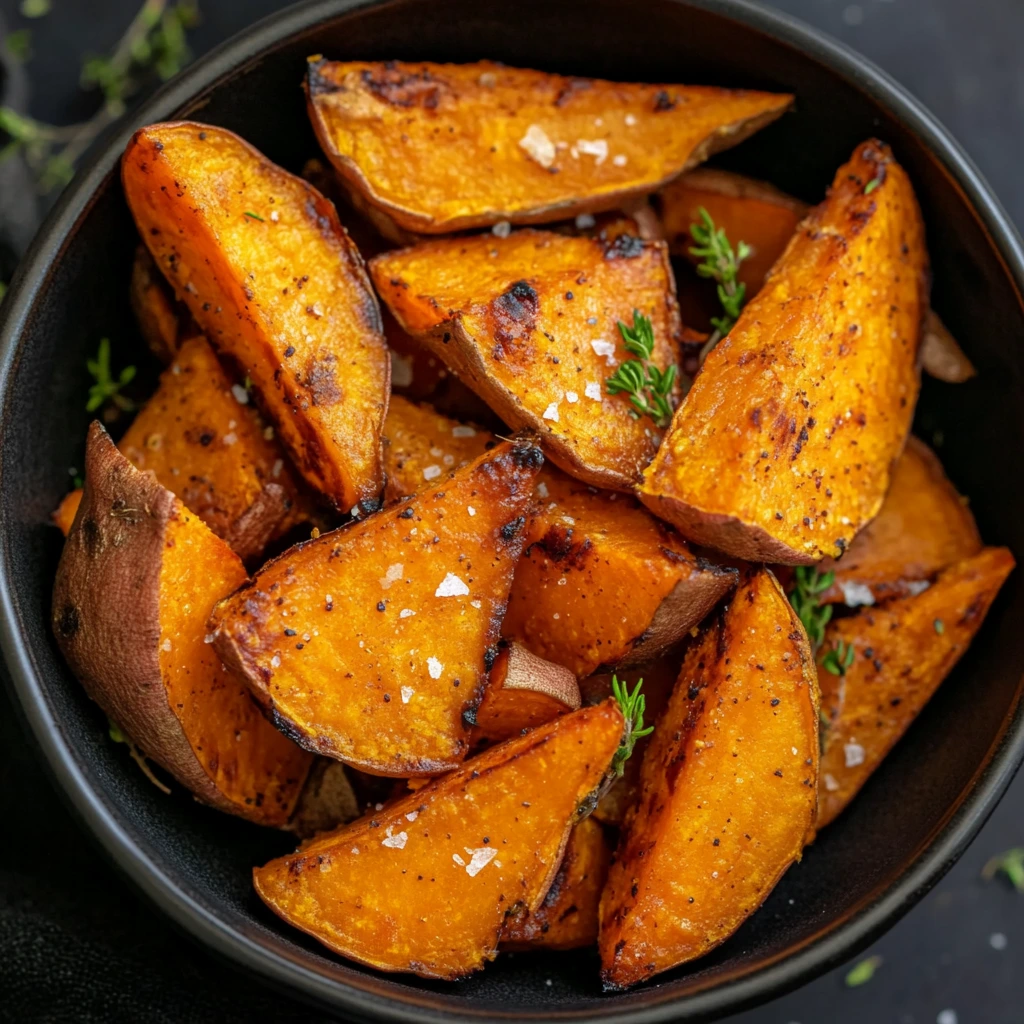
- Slice potatoes into same-sized chunks (around 1-inch) so they cook evenly
- Dry them thoroughly with towels before adding oil for maximum crispiness
- Don't skimp on salt – potatoes need more than you'd expect - 2. The Roasting Process
- Spread potatoes out with gaps between them
- Set your pan near the top of the oven for better browning
- Don't stir too much – letting them sit helps them caramelize better - 3. Making Perfect Garlic Butter
- Melt your butter gently so it doesn't burn
- Wait until butter has melted but isn't too hot before adding garlic
- Just cook until you can smell it to avoid bitter flavors - 4. The Final Touch
- Mix potatoes with the garlic butter while they're still hot
- Sprinkle parsley in at the end to keep its bright color
- Sample and add more seasoning right away if needed - 5. Serving Details
- Put them in a heated dish
- Add extra herbs on top if you want
- Serve right away while the butter's still warm
 Pin it
I found out why chunk size matters the hard way. My first try had some pieces twice as big as others – half turned out perfect while the rest stayed hard in the middle. These days I spend extra time making them all the same size, and they come out great every time. My kid even helps me compare them to make sure they match up.
These sweet potatoes have become our go-to side since I got this recipe down pat. They work with so many meals – sometimes they go with our Sunday chicken, other times they're the main part of a veggie bowl. The best thing I've discovered is how well they keep – they still taste amazing when warmed up the next day.
What really changed everything was when I started adding the garlic butter. I used to mix it in before cooking until a friend who cooks for a living told me to wait till the end. That small change made all the difference – now the garlic stays fresh and fragrant instead of getting burnt in the hot oven.
I often make these for group dinners during the holidays. My trick is to cook them slightly less at home, then finish them with the garlic butter when I get there. They're always gone first, and everyone wants to know how I made them.
One night stands out when unexpected friends dropped by and all I had were sweet potatoes. This recipe saved the day – paired with a quick salad, it turned into a fancy meat-free dinner my guests still mention.
 Pin it
After making these garlic butter sweet potatoes countless times, I can tell you they're the perfect mix of easy and fancy. They work just as well for busy weeknight meals as they do for special occasions, giving you restaurant-quality results without much fuss. The secret is letting those potatoes have breathing room while roasting and taking your time with the garlic butter at the end. I promise, once you've had these, you'll never want plain roasted sweet potatoes again!
Frequently Asked Questions
- → How can I tell when they’re done?
- Pierce a piece with a fork—it should be tender inside and golden brown outside. This usually happens after 25-30 minutes.
- → Can I prep these ahead?
- Yep! Keep them in an airtight container for up to 3 days, then reheat before serving.
- → What dishes pair nicely with these?
- They’re great with chicken, fish, beef, or even as part of a veggie-packed meal.
- → Can I try other seasonings?
- Definitely! Add a pinch of paprika, cayenne pepper, or your favorite spices for extra flavor.
- → Why aren’t they crispy?
- Spread them out in one layer without crowding, and roast at a high temp (400°F) for best results.