
 Pin it
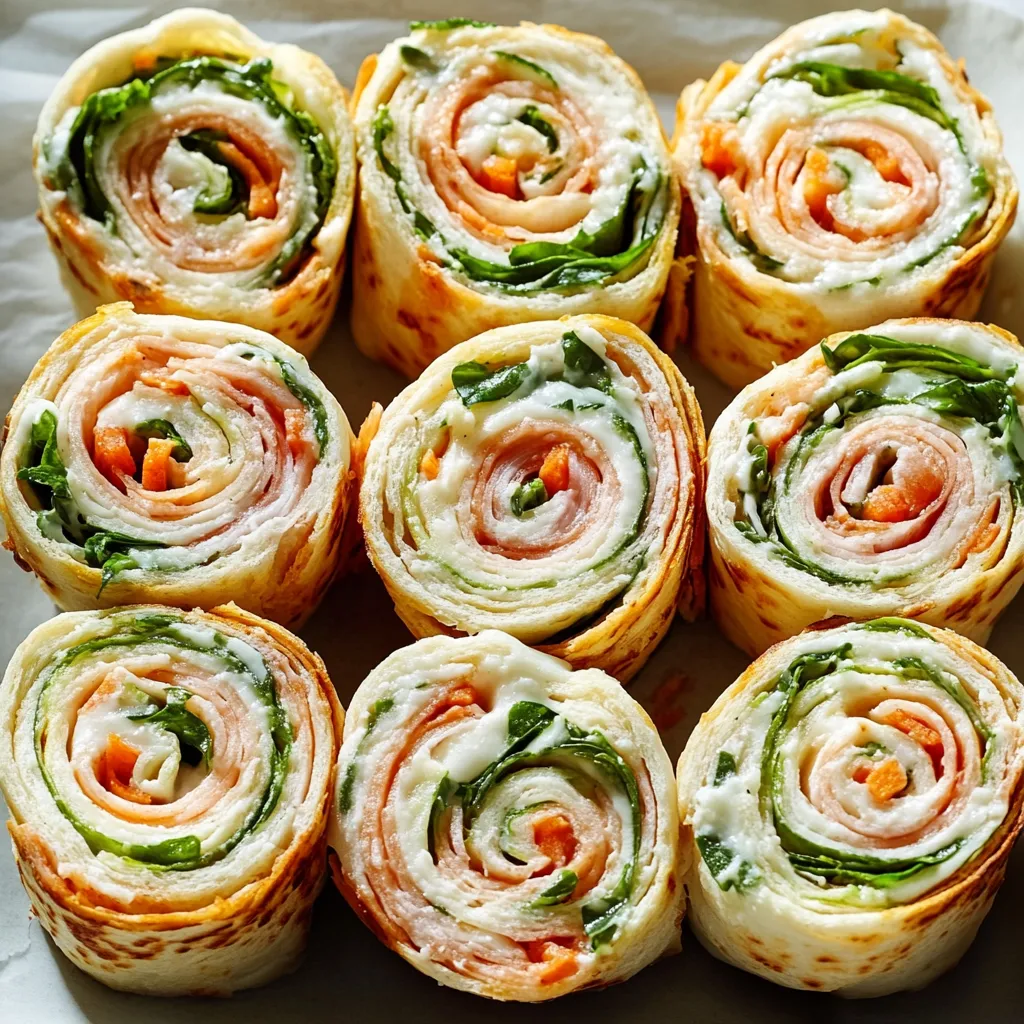
Spiral sandwiches changed my whole party planning game when I first tried them years back. These fun, colorful wheels of taste aren't just food - they're tiny art pieces that make any get-together feel extra special. What's great? They're actually quite easy to whip up, but guests always think you've slaved away for hours in the kitchen.
The first time I brought these to a family party, my aunt was convinced I'd bought them from a fancy food shop. Now I bring them to every potluck and celebration, and I can't help but smile when I see people's eyes widen as they spot the tray.
Must-Have Ingredients Guide
- Pick soft, bendable tortillas: Hard or old ones will break while rolling. I like the ones from the cold section that need cooking.
- Make sure cream cheese is completely room temp: Mine sits out at least 2 hours to get perfectly spreadable.
- Cut all veggies super tiny: Bigger chunks make your rolls tough to handle.
- Go for super thin meat slices: I always ask for the thinnest cut at the deli.
- Toss in some fresh herbs: Regular parsley or cilantro really brighten everything up.
Step-By-Step Assembly Walkthrough
- Step 1: Getting Your Foundation Ready
- Wait for cream cheese to warm up fully.
- Blend your spices into it before spreading.
- Spread a thin, even coating across the whole tortilla.
- Step 2: Adding Your Fillings
- Begin with the more delicate ingredients.
- Spread everything right to the edges.
- Blot any wet stuff with paper towels first.
- Step 3: Rolling It All Up
- Start rolling from the bottom.
- Keep it snug but don't squeeze too hard.
- Push escaping fillings back in as you go.
- Step 4: Letting It Set
- Wrap the whole thing tightly in cling film.
- Twist the ends like a candy wrapper.
- Cool in the fridge for at least half an hour.
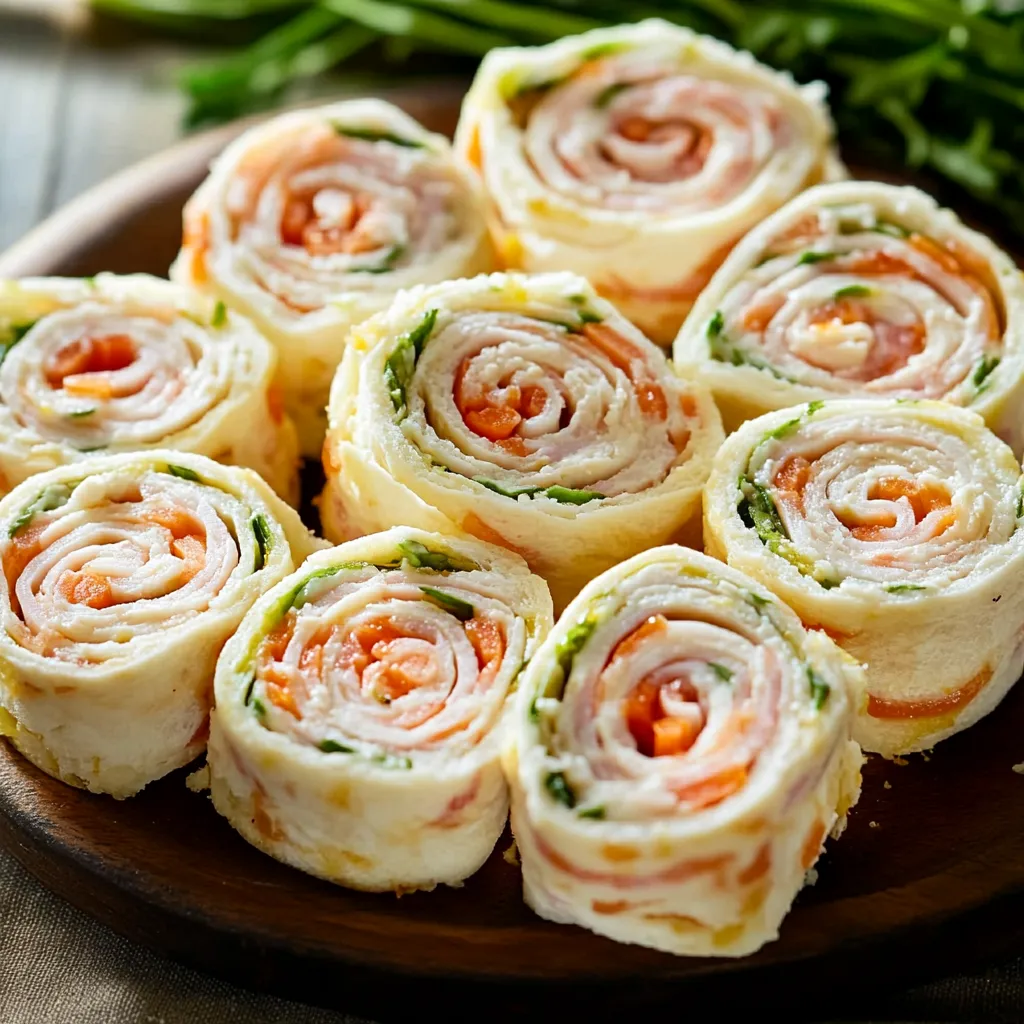
- Step 5: Cutting Into Pieces
- Grab a sharp bread knife.
- Wipe the blade between slices.
- Use gentle back-and-forth cuts.
 Pin it
I found out how important cooling is the hard way at my first book group. I was too eager to show off my fresh pinwheels and skipped the fridge step. Instead of neat spirals, I ended up with a tasty but messy pile. These days I make them the night before parties - they actually taste better after sitting overnight anyway.
Prep-Ahead Wonder
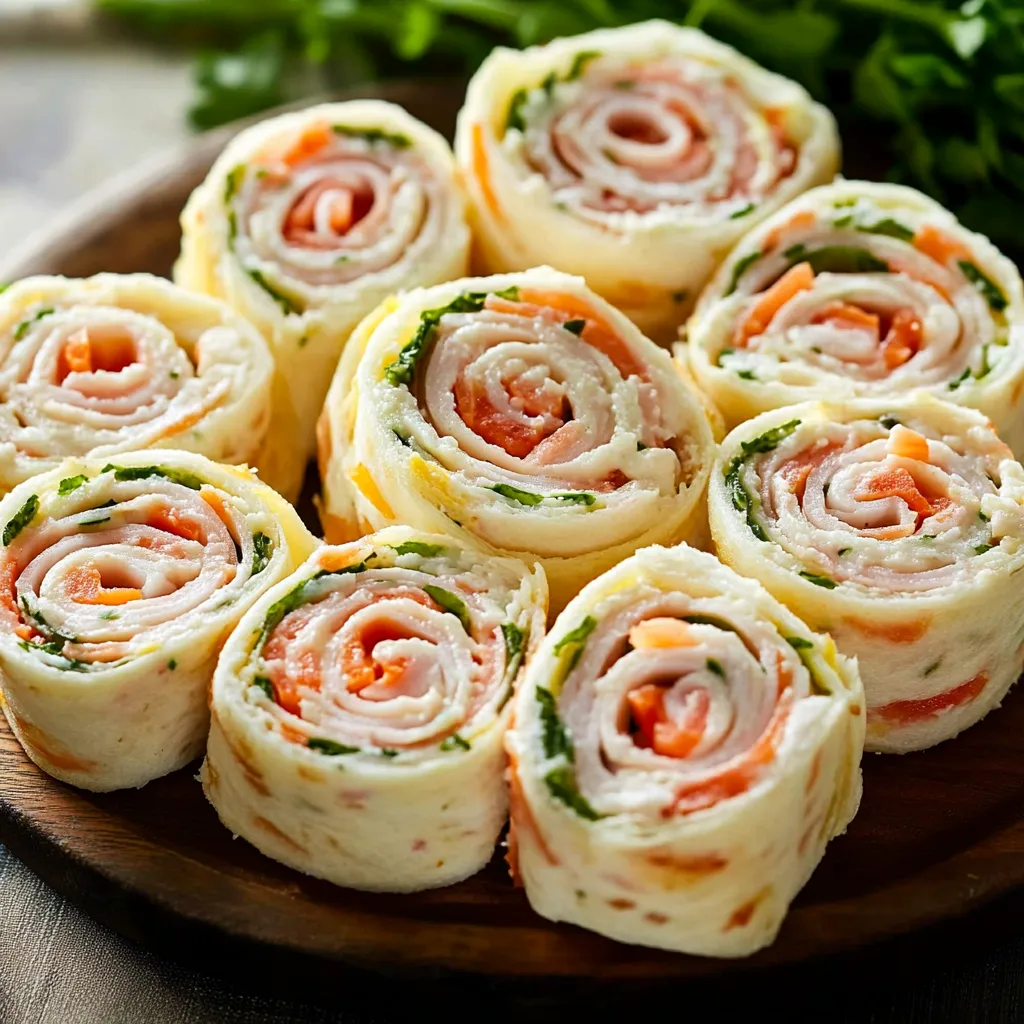
These spiral sandwiches have saved me so many times. When my kid's teacher wanted snacks for class, I made simple ones with turkey and cheese. For my sister's wedding shower, I went fancy with smoked salmon and herbs. You can really twist them to fit any event or taste.
Getting The Balance Right
What makes pinwheels work is getting the right amount of spread and fillings. After tons of practice, I've learned a thin spread layer works like glue, while too much makes a sloppy mess. I keep a knife handy to scrape off extra spread before adding the other stuff.
Great For Outdoor Eating
In the summer, I've found these little rolls travel really well in a cooler. I pack them in sealed containers with wax paper between each layer. They're awesome for beach trips, outdoor music shows, or anytime you want something easy to eat that still feels a bit fancy.
Everyone Loves Them
At one potluck, I brought Mediterranean ones with hummus and roasted veggies. They vanished so fast that people were hunting me down for the recipe. Now I always make extra because they're just as good for lunch the next day.
 Pin it
After making tons of these spiral sandwiches over the years, I've found they're one of the most flexible and satisfying things in my cooking arsenal. Whether you're planning a backyard hangout or a fancy dinner, these rolled-up treats never let you down. Just remember to take your time putting them together and give them enough fridge time. Trust me, it's worth the wait - you'll get beautiful, yummy pinwheels that add fun and style to any meal.
Conclusion
What's really cool about pinwheels isn't just how they look, but how they turn basic stuff into something that feels special. Each roll is like a blank page waiting for your own twist. Start with these simple steps, then go wild creating your own flavor combos. From basic lunch box fillings to fancy party food, these spiral sandwiches can do it all. Once you get the hang of it, you'll find yourself grabbing tortillas and cream cheese whenever you need something that looks impressive but doesn't take tons of work. They always bring smiles to the table.
Frequently Asked Questions
- → Can I make these ahead?
- Absolutely! Prep them up to a day in advance. Wrap tight in plastic and cut just before serving.
- → How do I stop soggy tortillas?
- Dry any wet ingredients with paper towels first, and cover the tortilla fully with cream cheese.
- → What's the easiest way to slice them?
- Chill them first to firm them up, then slice with a sharp serrated knife for perfect rounds.
- → How long can they be stored?
- Keep them in an airtight box in the fridge for up to 3 days to stay fresh.
- → Are there gluten-free options?
- Yes, just choose gluten-free tortillas and make sure all your fillings meet gluten-free needs.