
 Pin it
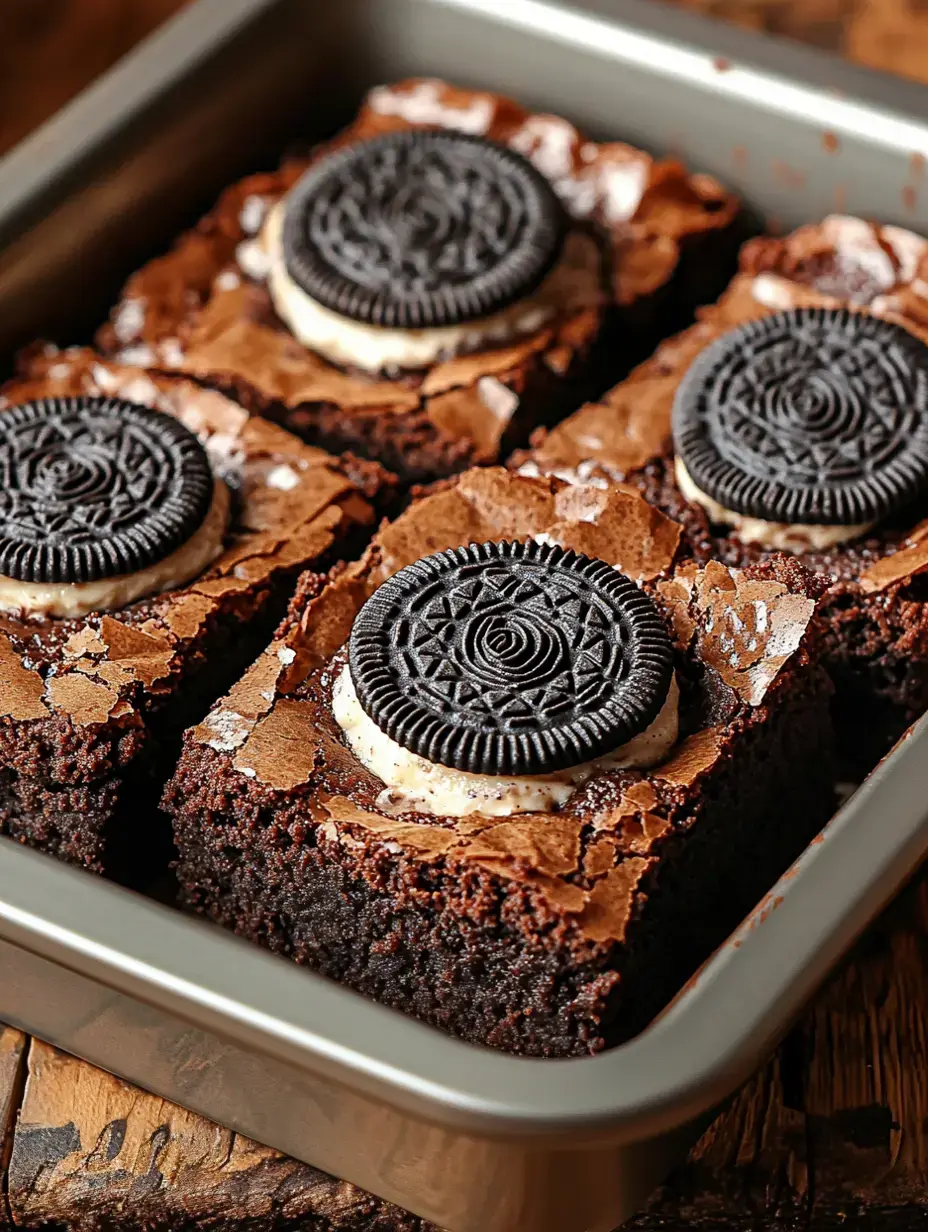
I've spent countless hours in my kitchen testing sweet treats, and these Oreo Brownies have become the number one dessert my family begs for. When that chocolatey smell starts wafting through the house, everyone knows something amazing is in the oven. I stumbled on this combo while trying to blend my kids' top two favorites - super fudgy brownies and crunchy Oreos. The first batch vanished so fast, I knew I'd hit on something truly special. There's just something about the mix of dense, chocolate-packed brownie with bits of crispy Oreo that makes people grab another piece.
The Secret Charm of These Decadent Brownies
After many trial batches in my home, I've figured out what makes these brownies extraordinary. The trick is in how you place those Oreos - some get broken into the mixture while others sit on top creating perfect crunchy spots. My followers tell me they've stopped buying bakery brownies because of this recipe. It's all about that wonderful contrast between the gooey brownie base and the cookie bits that keeps everyone wanting more.
All Your Necessary Ingredients
Let me tell you my baking secrets for these amazing brownies. Always use butter and eggs straight from the counter - they'll give you that perfect gooey texture. Good-quality cocoa really changes the taste completely. I always buy a few extra packs of Oreos because snacking while cooking happens every time in my house. Using both brown and white sugars together creates just the right sweetness and texture we want.
Getting Ready Before You Start
Perfect brownies begin with good prep work. I always start by putting parchment in my pan with edges hanging out for easy removal later. I put all my ingredients on the counter before I begin - it's surprising how smoothly baking goes when everything's within reach. Those few extra minutes getting organized really shows in how your brownies turn out.
Your Main Cookie Component
The type of Oreos you pick actually matters a lot. Regular Oreos work perfectly in these brownies, but you can definitely try different versions. I sometimes use mint ones during Christmas or the peanut butter kind for special events. The way they soften while baking creates these wonderful flavor pockets all through your brownie.
Your Rich Chocolate Foundation
The cocoa powder you pick really changes everything. I prefer Dutch-processed for that intense, deep chocolate taste. When it mixes with melted butter, it's absolutely wonderful. While they're cooking, my family always hangs around the kitchen - nobody can resist that amazing smell.
 Pin it
Mastering Your Mixing Method
Through years of baking, I've found that light mixing is super important. Mix too much and you'll get tough brownies instead of that fudgy goodness we want. I just fold the dry stuff in until it barely disappears, then carefully add those crushed Oreos. This gentle approach guarantees perfect brownies every time.
Adding Your Personal Touch
These brownies work for so many occasions. For birthday celebrations, I'll add some bright sprinkles on top. During the holidays, sometimes I'll drizzle white chocolate across them. The basic recipe welcomes creativity. My followers always share their own twists, and I love seeing how they customize their batches.
Tricks For Flawless Results
Getting those nice clean edges takes a bit of waiting. I always cool my brownies in the fridge at least 30 minutes before cutting them. Using a warm knife, cleaned between cuts, gives you those perfect edges. These small details make your brownies look as fantastic as they taste.
Try New Variations
Feel free to play around with different flavors. Sometimes I add swirls of peanut butter or put in a layer of caramel. Different Oreo flavors create totally new desserts. The core recipe works so well that it's perfect for trying new ideas. My kitchen has been the birthplace of many tasty variations.
Keeping Them Fresh
These brownies stay good for days when stored right. I keep mine in a sealed container with parchment between the layers. They also freeze really well for longer storage. Just wrap each piece carefully, and you'll have emergency chocolate treats ready whenever you need them.
 Pin it
Lighter Alternatives
I sometimes make these with a few changes for friends watching what they eat. Whole wheat flour works surprisingly well, and cutting back on sugar a bit doesn't ruin them. The Oreos still make them feel like a real treat, even with these small adjustments. It's all about finding that sweet spot between healthy and tasty.
Crowd-Pleasing Desserts
These brownies have become my standard for any get-together. I often cut them into small squares for parties. They travel without falling apart and always get eaten first at dessert tables. Something about that brownie-Oreo mix just seems to make everyone smile.
Essential Equipment
Having good tools makes baking so much easier. You really need a good 9x9 baking pan and some parchment paper. I love using my flat spatula for smoothing the batter evenly. These basic tools help you make those perfect brownies we all want.
Frequently Asked Questions
People who read my blog often ask about making bigger batches or swapping ingredients. Truth is, these brownies are pretty adaptable. A bigger pan works fine - just watch how long you bake them. And yes, you can use gluten-free flour if you need to. What's great about this recipe is how flexible it is.
Delightful Satisfaction
These Oreo Brownies have grown into something more than just another sweet treat I make. They're what my kids want for school functions, the dessert friends always ask me to bring to gatherings. They represent everything great about home baking - bringing happiness through something made with care in my own kitchen.
 Pin it
Frequently Asked Questions
- → Can I swap Oreos for other cookies?
Yep, any kind of cookie will work! Experiment with different flavors like peanut butter or snickerdoodle for a fun twist.
- → Do the eggs need to be at room temperature?
Yes, it helps them blend smoothly with the batter and gives a more consistent texture.
- → What’s the best way to tell if they’re done?
If a toothpick comes out with some gooey crumbs (not wet batter), they’re ready! Just don’t bake too long or they’ll dry out.
- → Is it possible to freeze them?
Sure! Wrap them tightly and freeze for up to three months. Let them thaw at room temp when ready to eat.
- → What’s the purpose of parchment paper?
It makes pulling them out of the pan simple and no sticky mess to clean up!
Conclusion
These chewy chocolate bars mix rich batter with Oreo chunks and optional chocolate chips—perfectly indulgent and easy to make.