
 Pin it
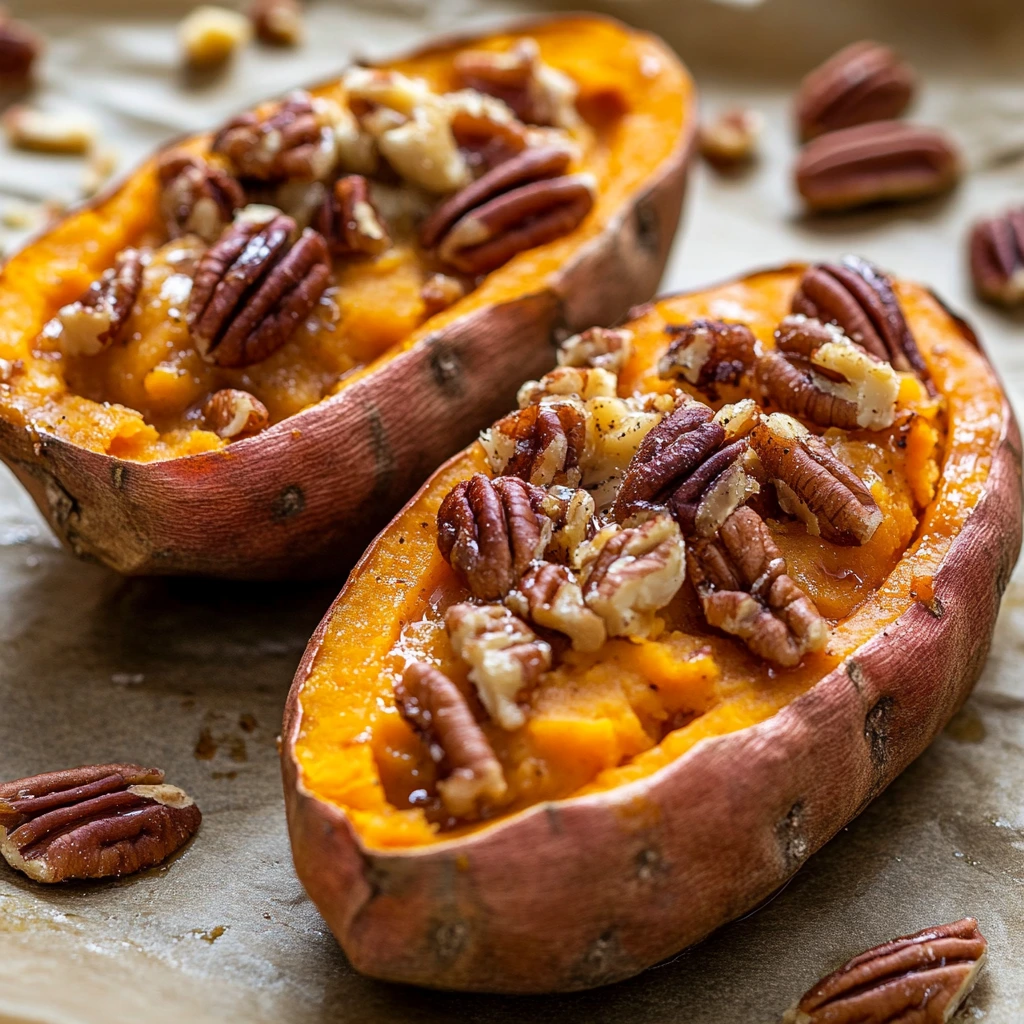
The wonder of twice-baked sweet potatoes comes from turning basic tubers into fancy, smooth treats. This approach takes ordinary sweet potatoes to another level - think breaking through a crunchy outer layer to find a perfectly flavored, fluffy middle that balances sweetness and savoriness. Through countless attempts at getting it just right, I've found the perfect mix of down-home comfort and fancy presentation.
I stumbled on this cooking trick during a Thanksgiving when I was short on oven room and had to make dishes beforehand. Now everyone asks me to make them - even my husband who used to avoid sweet potatoes completely can't get enough!
Key Ingredients Breakdown
- Sweet potatoes: pick medium ones with similar shapes - I go for potatoes that won't tip over when cut in half
- Actual butter: brings a wonderful richness - I use unsalted so I can add just the right amount of salt myself
- Newly picked herbs: totally change the flavor - I'm partial to fresh thyme and sage for their woodland flavor
- Brown sugar: boosts the natural sweetness - the dark kind adds more complexity
- Heavy cream: makes everything velvety smooth - don't try to cut corners here, it's totally worth it
Step-By-Step Cooking Guide
- 1. Getting Ready For The First Bake
- Clean potatoes well and wipe them dry
- Poke holes all over with a fork
- Coat with oil and add some sea salt - 2. First Time In The Oven
- Set directly on the oven rack for even cooking
- Put a foil-covered baking sheet underneath to collect drips
- Cook until they're completely soft when poked - 3. Making The Filling Mixture
- Allow potatoes to cool enough to handle safely
- Keep a 1/4-inch shell of potato flesh inside the skin
- Beat the scooped insides until they're totally smooth - 4. Refilling And Second Baking
- Stuff the skins a bit above the edge
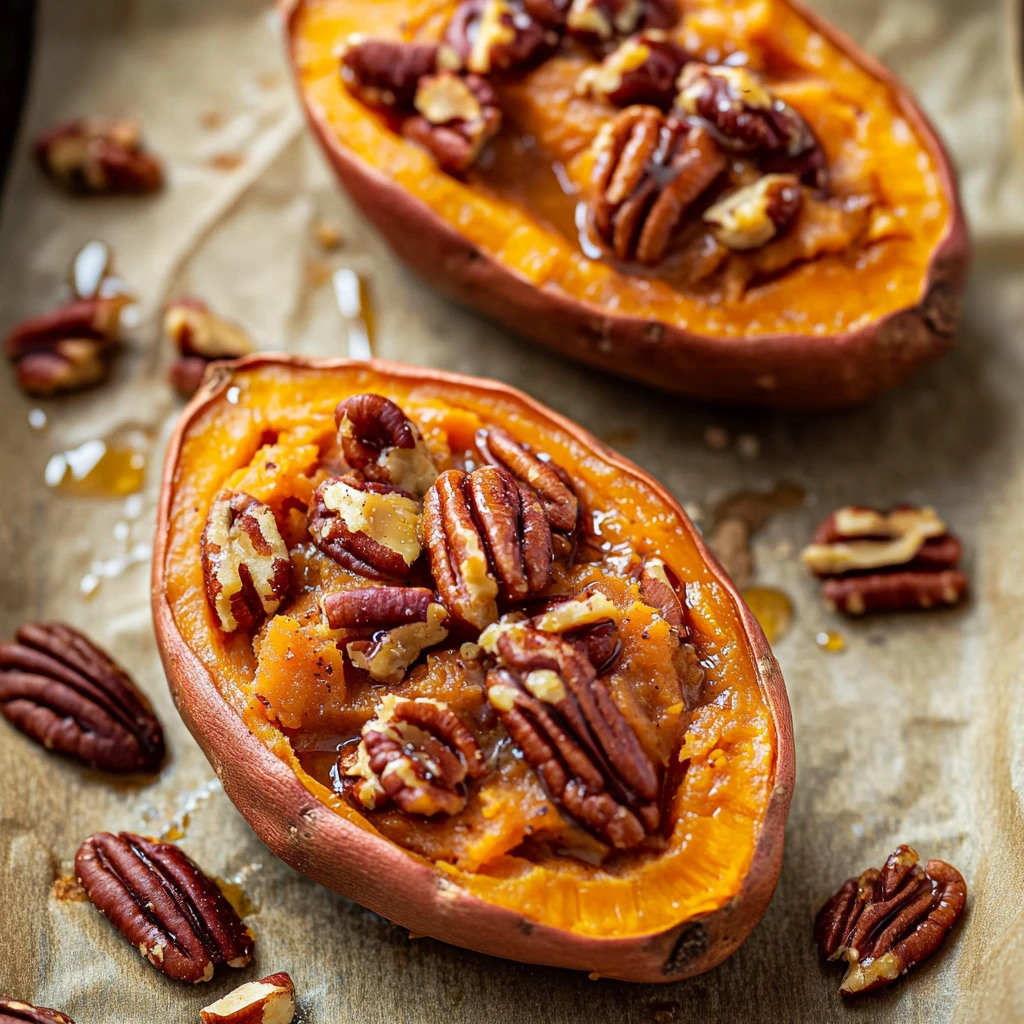
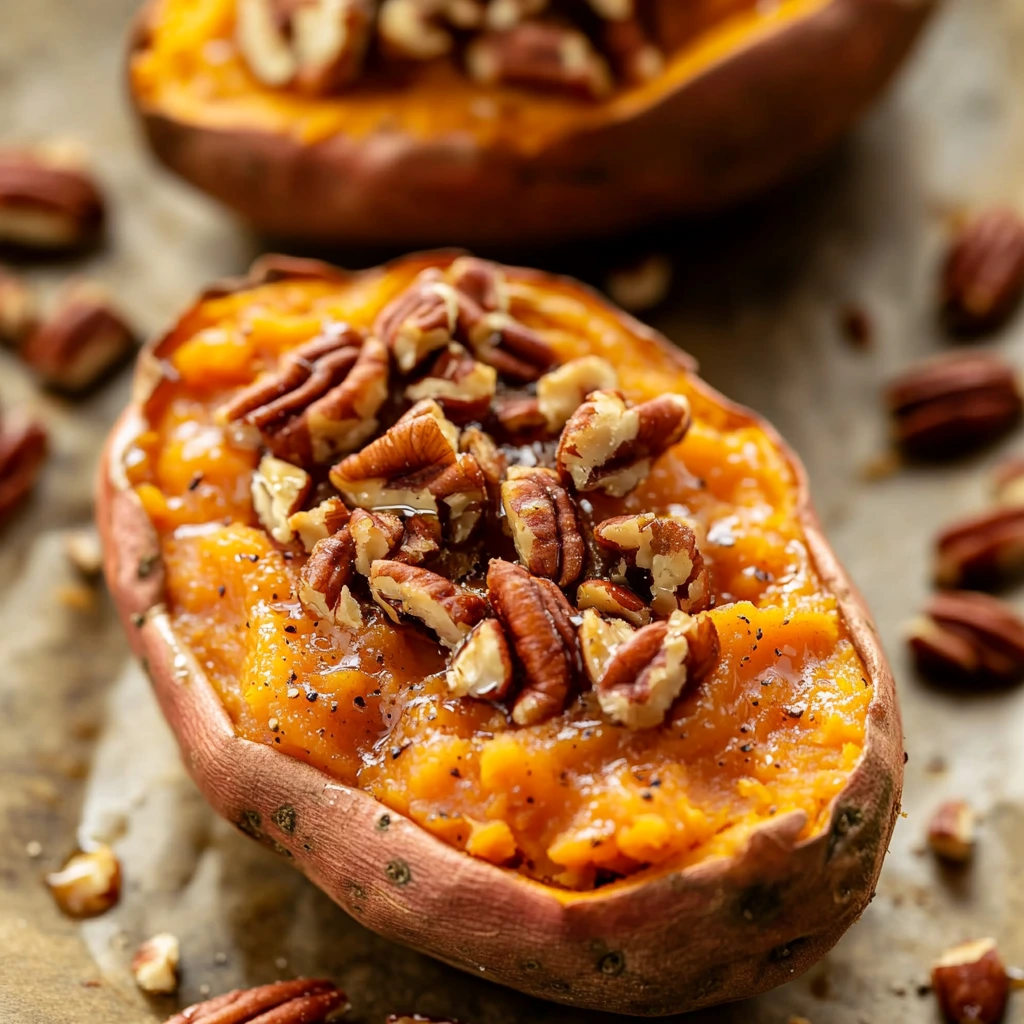
- Make little peaks on top for extra crunchiness
- Put some butter on any exposed skin - 5. Finishing Touches
- Keep an eye on them during the second bake for the right golden color
- Let them sit for 5 minutes after baking
- Add your final toppings while they're still warm
 Pin it
Back home in the South, we always had sweet potatoes at family dinners, but we just baked or mashed them. I was blown away the first time I tried this twice-baked style at a friend's place. The mix of crunchy outside and creamy inside was totally new to me. Now I've tweaked my own version that mixes old-school flavors with some fresh ideas.
I still laugh thinking about the first batch I made for a holiday get-together - my super picky mother-in-law actually asked me how I made them. That's when I knew I had a winner. I've played around with tons of different versions since then, but I always follow the same basic steps.
One thing I'll never forget is showing my little girl how to make these. She loves making pointy tops in the filling before the second bake and calls them her "sweet potato mountains." These small details make each potato special and create those tasty crispy bits everyone wants.
When autumn comes around, I usually make extra - some for dinner and some for lunches later. They heat up great, and they taste just as good the next day. I sometimes switch up the toppings throughout the week to keep meals exciting.
What began as just trying to jazz up sweet potatoes has turned into my go-to dish. I've learned you can't rush them - you need to let them cook fully during that first bake to bring out all their sweetness, and you've got to be careful when scooping them so you don't tear those valuable skins.
 Pin it
After making these twice-baked sweet potatoes more times than I can count, I can tell you they're definitely worth the effort. We've had them at casual family meals and fancy holiday dinners too. What makes this approach so great is how flexible it is - make them fancy or simple, sweet or savory, but always take your time with each step. When you see those perfectly golden tops and taste that first creamy bite, you'll get why this has become a treasured favorite in my kitchen.
Frequently Asked Questions
- → How can I tell they’re fully cooked?
- Stick a fork in them after the first bake—if it slides in easily, they’re good to go.
- → Can these be prepped early?
- For sure. Fill them up, chill them in the fridge, and just pop them in the oven right before eating.
- → How do I make the center extra smooth?
- Mash them when they’re still nice and warm. Slowly mix in some cream or milk until it’s silky.
- → Is freezing an option?
- Yep! Wrap them up after baking the first time. Defrost entirely before baking again.
- → Any ideas for extra flavor?
- Go with maple syrup instead of sugar, or toss some chopped nuts like pecans on top for a bit of crunch.