
 Pin it
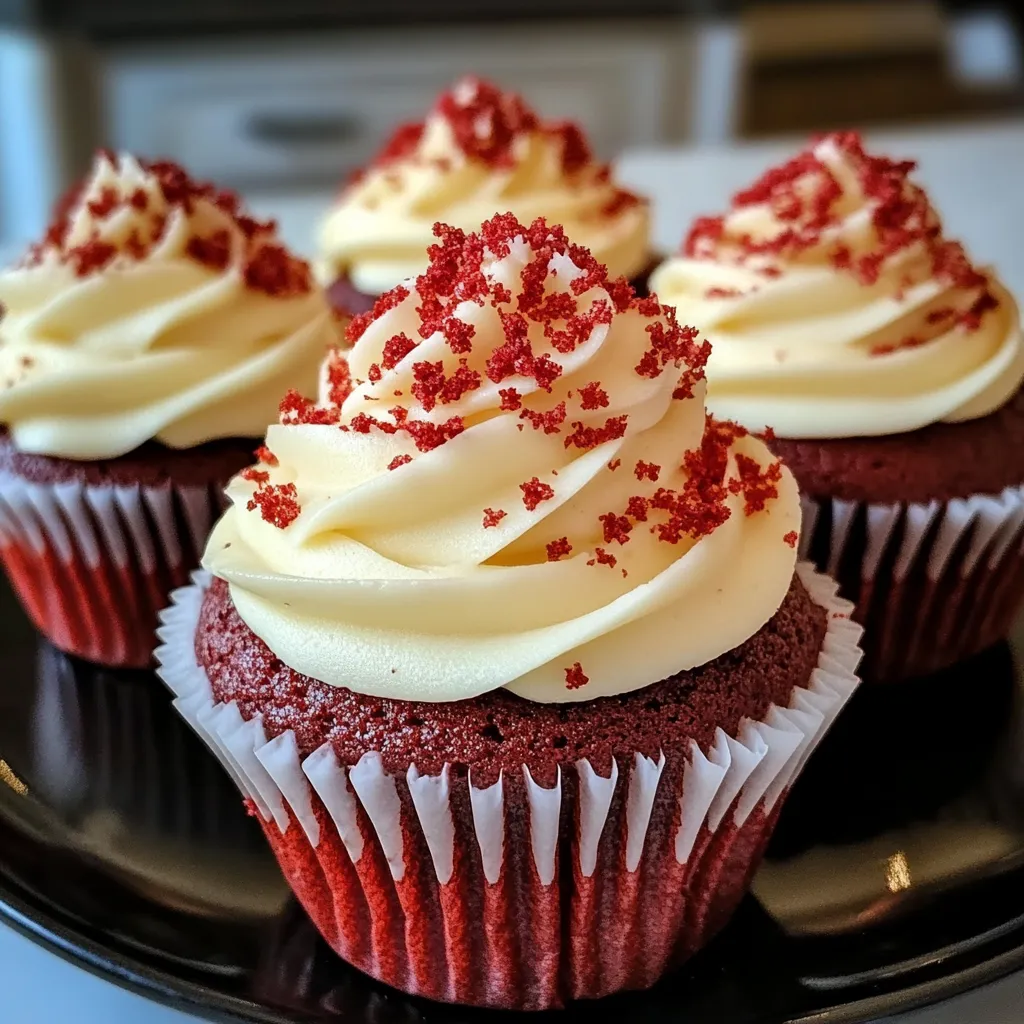
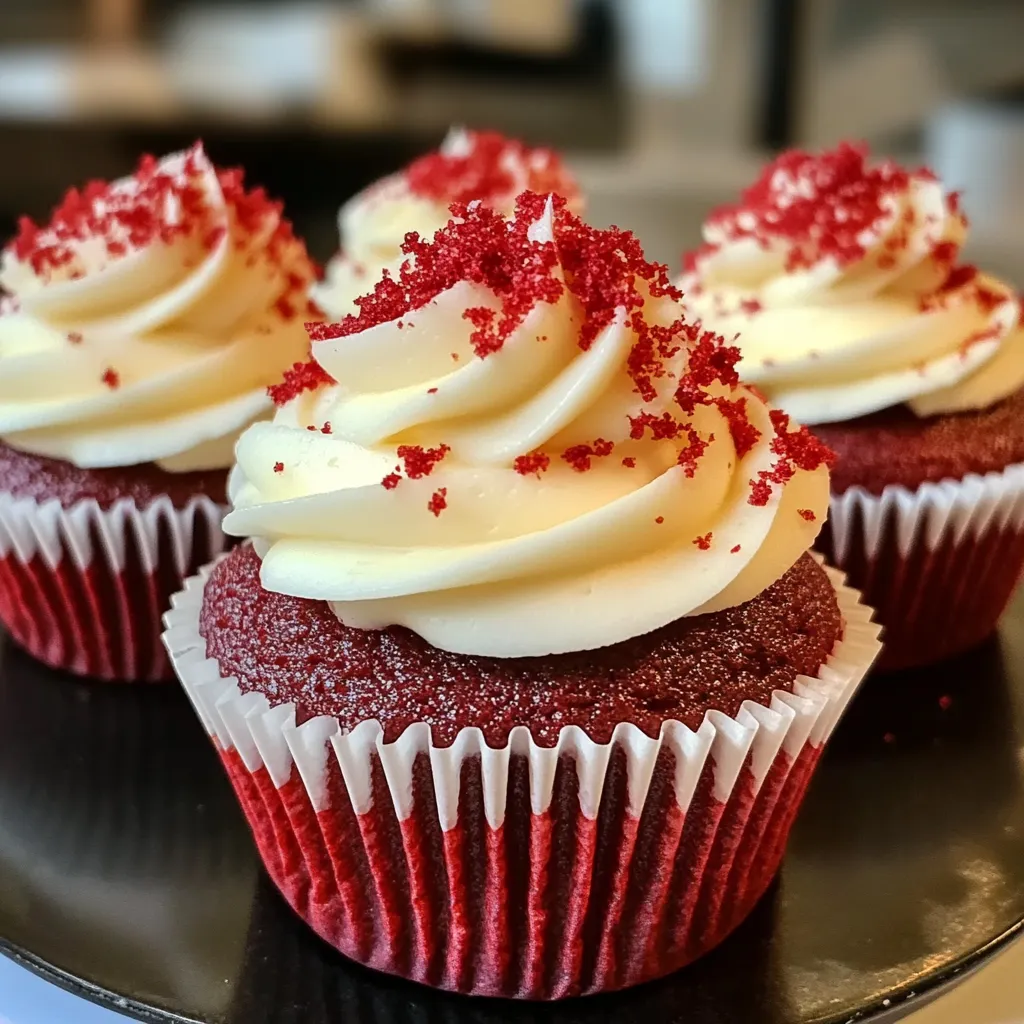
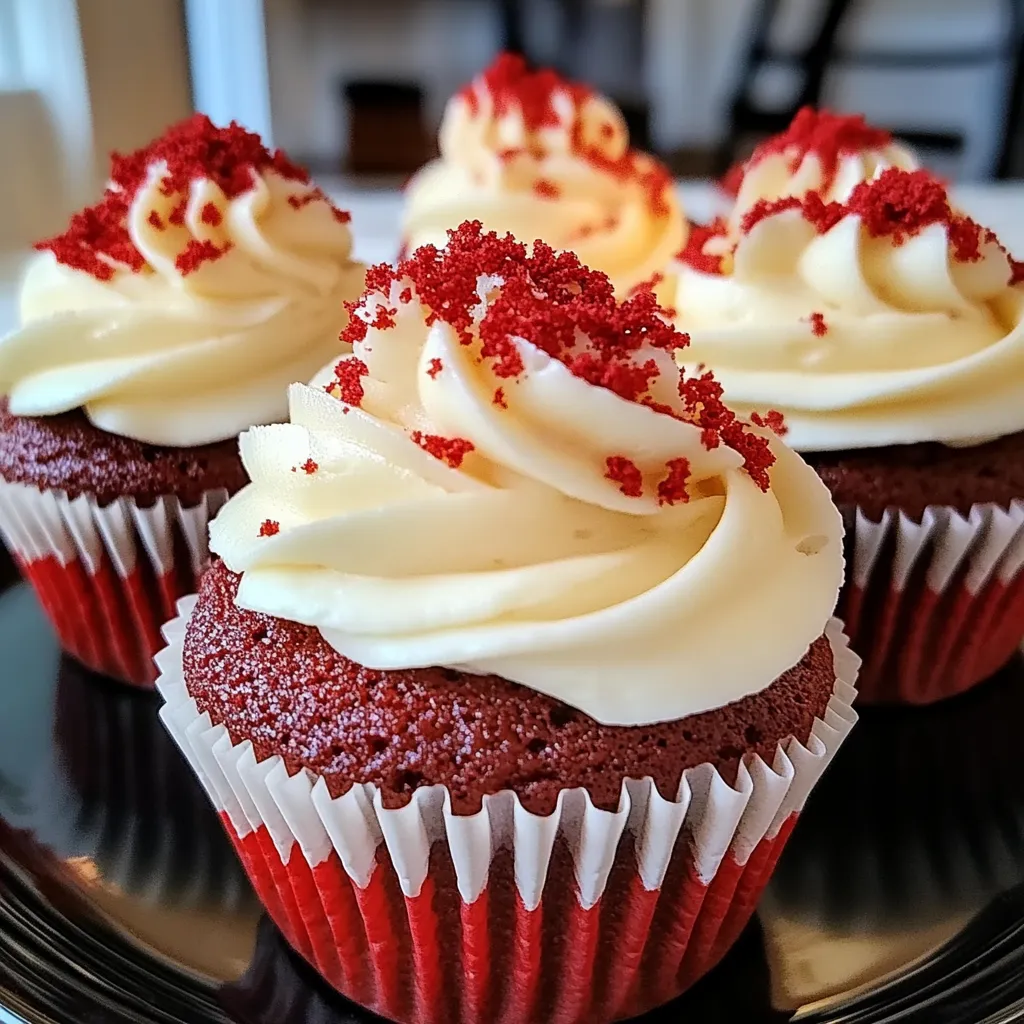
These Southern-style cupcakes blend two favorite treats into one amazing dessert. The red velvet base wraps around a creamy cheesecake middle, topped with fluffy cream cheese frosting. Every bite gives you soft cake and rich filling that work perfectly together. They're a true crowd-pleaser that combines classic flavors in a fun new way.
I stumbled upon this combo at a small shop downtown and just had to try making it myself. It took me quite a few tries to get it right, but I finally nailed the perfect balance between soft cake and smooth filling. Now my folks beg me to bring these to every birthday and holiday!
Complete Ingredients Breakdown
- Softened cream cheese: needs to sit out for about 2 hours before you start. If it's still cold, you'll never get those lumps out, no matter how much you mix.
- Real buttermilk: makes these cupcakes incredibly soft. Its tanginess works wonders with the other ingredients.
- Good cocoa powder: brings that hint of chocolate that makes red velvet special. I go for Dutch-processed because it tastes smoother.
- Real vanilla: ties all the flavors together. Skip the fake stuff, as it leaves a weird taste behind.
- Proper food coloring: matters a lot. The gel type gives bright color without making your batter runny.
Step-by-Step Baking Guide
- 1. Whipping Up Your Cheesecake Center
- - Keep beating that cream cheese until it's totally smooth before adding sugar
- Don't forget to wipe down the sides of your bowl often for hidden chunks
- Use medium speed until your filling looks glossy and velvety - 2. Getting Your Batter Just Right
- - Run dry stuff through a sifter twice to break up any cocoa clumps
- Add wet ingredients slowly so your batter stays nice and stable
- Stop mixing as soon as everything comes together – too much mixing makes them tough - 3. Putting It All Together
- - Put a small amount of red batter at the bottom of each cup
- Drop cheesecake mix right in the middle, staying away from the edges
- Top with more batter, but leave room for them to rise - 4. Baking Them Perfectly
- - Put your pan in the middle of the oven where heat spreads evenly
- Turn the pan around halfway through so they all cook the same
- Look for tiny cracks forming on top – that means they're almost done - 5. Cooling and Finishing Touches
- - Let them sit in the pan for just 5 minutes – any longer and they'll get damp
- Move them to a wire rack right after that
- Make sure they're totally cool before adding frosting or it'll slide right off
 Pin it
Growing up in the South taught me red velvet isn't just about looking pretty – it's about getting that taste just right. My grandma always told me buttermilk was the key, and after making these cupcakes countless times, I totally get it. I've noticed that when I splurge on organic buttermilk, they have this amazing tang that my family goes crazy for.
I always bring these cupcakes to our block parties. It's so fun watching people's eyes light up when they bite into that cheesecake surprise. One time my kid's teacher tried them at a school event and asked for my recipe – now they make them for all the staff meetings!
Making these treats with my kids has turned into our special thing. They love helping layer everything, though I've learned to keep paper towels nearby for those inevitable red dye spills! Seeing how proud they are when they swirl that perfect frosting on top makes any mess worth it.
I'm always amazed at how these cupcakes fit in anywhere. I've served them at casual family dinners and fancy bridal showers too. During Christmas, I sometimes mix peppermint into the frosting and top with crushed candy canes – it's become our holiday tradition.
These cupcakes taught me that rushing doesn't work in baking. I remember my first try when I hurried through the steps and ended up with a total disaster. Now I take my sweet time with each part of the process, and they come out great every single time.
 Pin it
After countless batches of these cupcakes, I can tell you they're way more than just a sweet treat – they're like little moments of happiness. Whether you've been baking forever or you're just starting out, this recipe mixes old-school Southern charm with a fun twist. Remember to take your time, use the best ingredients you can find, and most importantly, have fun with it. These aren't just cupcakes you make; they're memories you create that bring folks together around the table with smiles all around.
Frequently Asked Questions
- → Can normal milk swap for buttermilk?
- Sure! Combine 1 cup of milk with 1 tablespoon of white vinegar or lemon juice. Let it rest for about 5-10 minutes before mixing.
- → How long do they stay fresh?
- Keep them refrigerated in a sealed container for up to 4 days. For longer, freeze the unfrosted ones for up to 3 months.
- → What’s the best food coloring to use?
- Use gel, liquid, or natural coloring, depending on what you’ve got. Just adjust the quantity to match the red you want.
- → Can I prep these cupcakes early?
- Absolutely! Bake them a day before, store them without frosting, and decorate just before eating.
- → What’s a good sprinkle substitute?
- You can try swapping sprinkles with chocolate curls, crushed nuts, or ripe berries. They all go great with the frosting!