
 Pin it
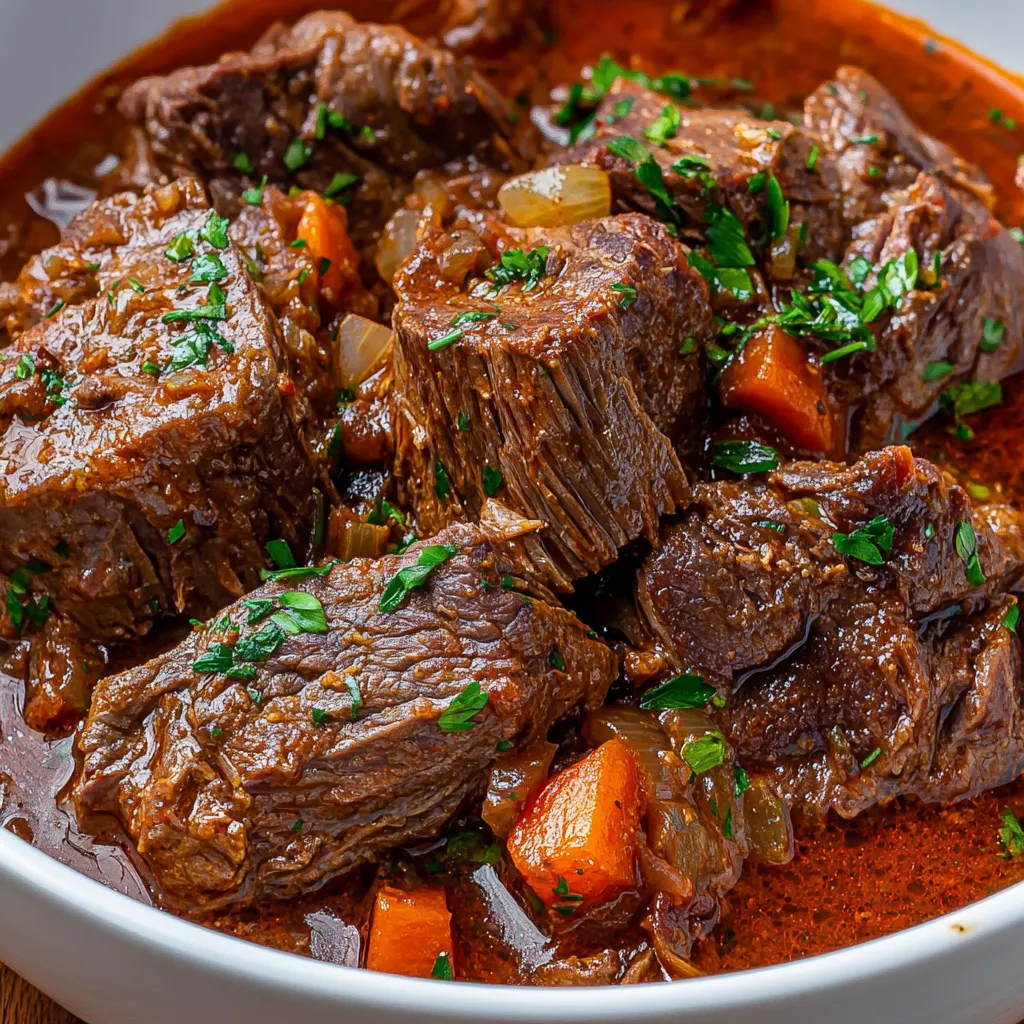
The humble stracotto, or traditional Italian pot roast, works magic on budget-friendly beef cuts through slow cooking. This down-home dish blends fall-apart beef with a deep tomato sauce packed with veggies and herbs. It stands apart from American-style pot roast thanks to tangy tomatoes and a richer herb blend, making a sauce you'll want to mop up with bread or smooth polenta.
My first try at this came after eating at a tiny Tuscan eatery where I had pot roast that blew my mind. The owner told me stracotto literally means "cooked too much" – but in the best way possible. My first shot at home missed the mark – the sauce ran too thin and the meat wasn't soft enough. After trying again and adding way more cooking time, I finally got that silky sauce and meat that breaks apart with just a fork. Now it's what I cook when the family comes over on Sundays.
What You'll Need
- Chuck roast: This fatty cut gets amazingly soft when cooked slowly; grab one with good fat marbling throughout for max taste
- Pancetta or bacon: Brings smoky, deep flavor to start; pancetta is more Italian, but thick bacon works great too
- Celery, carrot, and onion: This trio (soffritto) starts the flavor base; chop them all the same size so they cook evenly
- Garlic: Whole fresh cloves add needed depth; chop them tiny to get all their flavor out
- Tomatoes, crushed: Try San Marzano for the perfect mix of sweet and tangy; they make the sauce extra thick and rich
- Broth from beef: Adds meaty depth; homemade is awesome, but good store stuff with low salt works fine
- Herbs that are fresh: Thyme and rosemary give aromatic goodness; fresh ones work best, but dried will do in a pinch
- Seasoning, Italian style: This mix usually has marjoram, oregano and basil, bringing true Italian notes
- Flakes of red pepper: Adds just a touch of heat that cuts through the richness; add more or less based on what you like
How To Make It
- Get the most from your bacon:
- Start by slowly cooking the chopped bacon or pancetta in a heavy pot over medium heat, giving it a stir now and then until the fat melts out and the pieces get crispy. This'll take about 5-7 minutes – don't rush it if you want all that flavor. Scoop out the crispy bits with a slotted spoon, but keep all that tasty fat in the pot for what's next.
- Make sure your beef gets a good crust:
- Grab some paper towels and dry off your beef chunks completely before you sprinkle them generously with pepper and salt on every side. Heat up that bacon fat until it's shimmering, then carefully drop in the beef. Let each side get a deep brown crust before you flip it – this takes around 4-6 minutes per side. Don't keep moving it around or you won't get that rich flavor that makes the whole dish amazing.
- Build your flavor base:
- Once the beef is out, turn the heat down to medium and toss in your chopped celery, carrot, and onion. As they cook, they'll release moisture that helps scrape up all those tasty browned bits from the pot bottom. Cook until everything softens and onions turn see-through, stirring occasionally for about 7-10 minutes. This mix creates the flavor foundation for your whole dish.
- Layer in more flavors:
- Add your finely chopped garlic and red pepper flakes, stirring constantly for about a minute until you can smell them but before they brown. Watch carefully – garlic burns fast and gets bitter. Just a quick cook releases all the good oils without any bitterness.
- Create the cooking liquid:
- Pour in the beef broth, using it to scrape up any stuck bits from the pot bottom. Add your crushed tomatoes, herbs, bay leaves, and the bacon you set aside earlier. This mix creates a rich cooking liquid with lots of flavor layers – meaty depth from the broth, tanginess from tomatoes, and herbal notes. Stir everything together well.
- Take your time cooking:
- Put the seared beef back in, nestling it into the liquid so it's partly but not fully covered. Pick whatever cooking method works for you – stovetop, oven, or slow cooker – but remember that the magic happens when you cook low and slow. The tough parts in chuck roast need plenty of time to break down, which gives you that fork-tender texture everyone loves.
- Check it the right way:
- Don't just go by the clock – stick a fork into the thickest part of the meat to check. When it's done right, the fork should slide in super easily, and the meat should pull apart without much effort. This usually takes 3-4 hours in a 275°F oven, but might vary depending on your specific piece of meat.
- Get it ready to eat:
- Once it's tender, fish out the bay leaves and taste for salt and pepper. For the best flavor, let everything rest for 15-20 minutes before serving. This gives the meat fibers time to soak up juices again, making each bite more tender and flavorful.
 Pin it
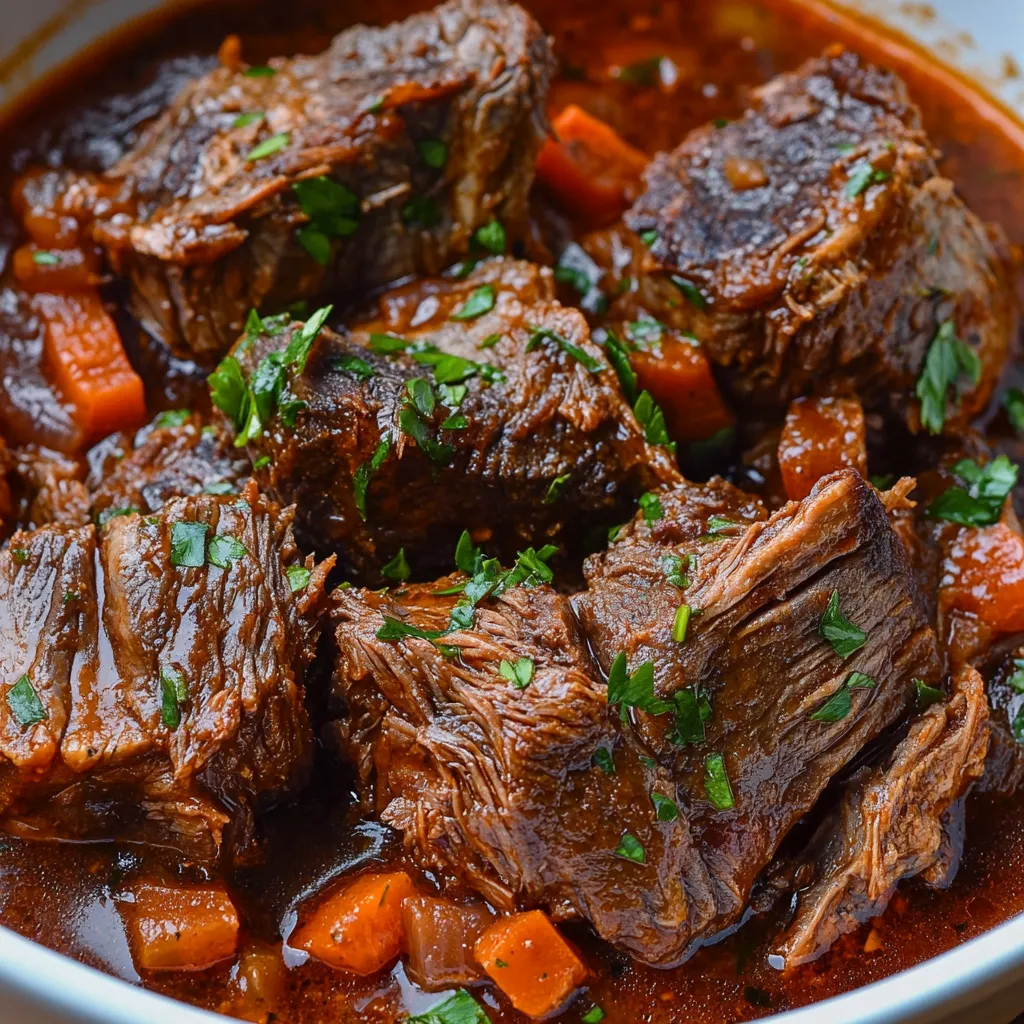
My nonna always made her stracotto a day ahead, saying it needed to "rest and dream" in the fridge overnight. I thought she was just being quirky until I tried it myself. The flavors really do get so much deeper after sitting overnight. Now I often cook mine a day early too, especially when company's coming. Plus, you can easily scrape off any fat that hardens on top before you warm it up again.
Ways To Serve It
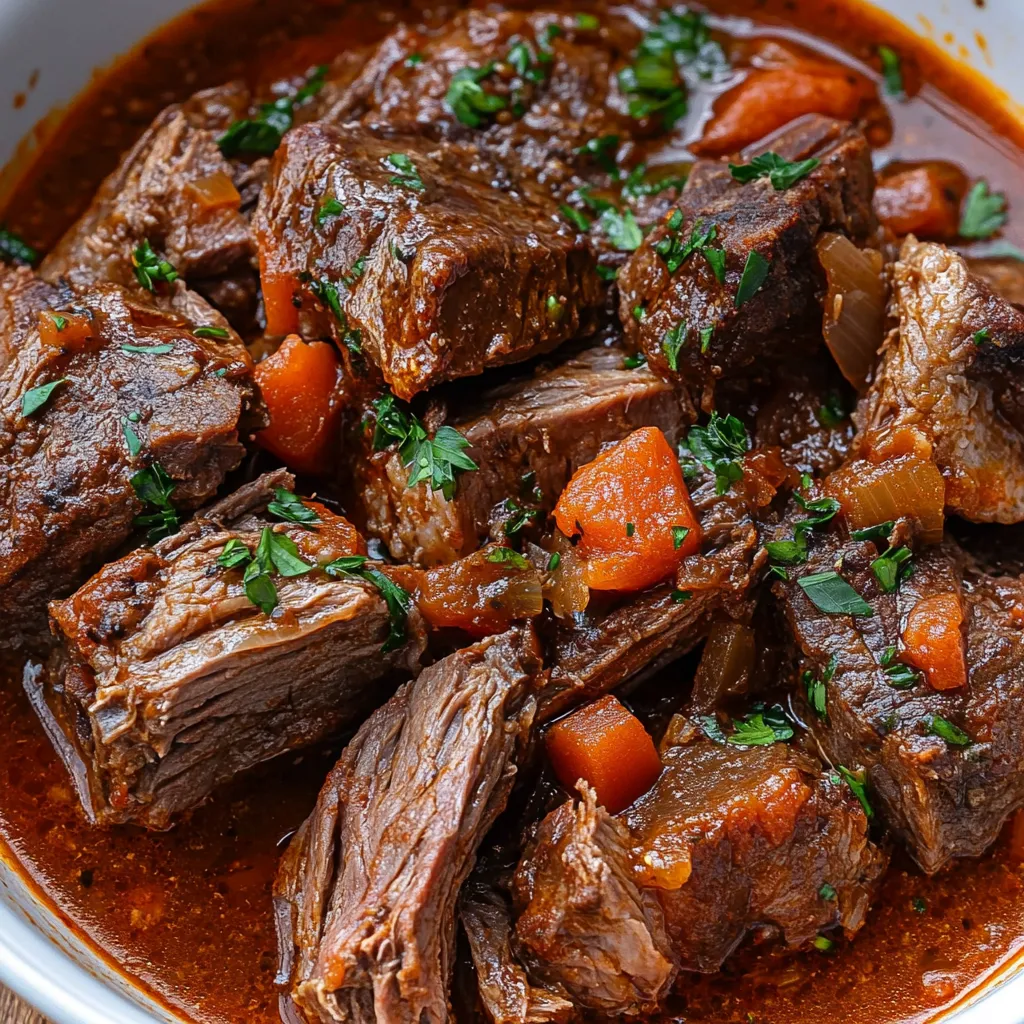
What's great about Italian pot roast is how many ways you can serve it. The classic choice is over smooth, creamy polenta, which soaks up all that rich sauce perfectly. The way the velvety polenta contrasts with chunks of tender beef creates an amazing mix of textures.
For something more rustic, try it with garlic and rosemary roasted potatoes. The crispy potato outsides go really well with the soft meat. In winter, I love pairing it with a simple risotto – the creaminess works so well with the hearty sauce.
And always put some crusty Italian bread on the table. There's something so satisfying about using bread to soak up the last bit of sauce on your plate – Italians call this "fare la scarpetta" (making the little shoe), and cooks take it as a big compliment.
Try These Twists
Though this classic version is amazing as is, I've come up with some tasty changes over the years. For a Tuscan spin, throw in a handful of pitted Kalamata olives and a spoonful of capers during the final hour of cooking. These tangy additions play off the rich sauce beautifully.
When I'm cooking for a special occasion, I sometimes toss in some dried porcini mushrooms that I've soaked in hot water. I add both the chopped mushrooms and their soaking water to the pot. This creates an even deeper savory flavor that mushroom fans can't get enough of.
Around the holidays, I like adding a touch of warmth with two strips of orange peel and a cinnamon stick in the cooking liquid. These subtle additions bring a festive feel that fits the season without taking over the whole dish.
 Pin it
Final Thoughts
I've been tweaking this recipe for over fifteen years, ever since that life-changing meal in Tuscany. What makes this dish special isn't fancy methods or hard-to-find ingredients, but patience and honoring tradition. There's something deeply satisfying about the whole process – slowly building flavors, watching a basic cut of meat turn into something wonderful. When my house fills with the rich smell of this pot roast bubbling away, my family always gravitates to the kitchen, eager for dinner. That's probably the best part of cooking – bringing people together around something made with time and love.
Frequently Asked Questions
- → Which beef cut works best for this dish?
- Chuck roast is unbeatable for its marbling and how juicy it gets. You can also try brisket, round, or short ribs—cuts that love a good slow cook.
- → Can this be made in an Instant Pot?
- Totally! Brown the meat and veggies first, then pressure cook on high for about an hour. Do a natural pressure release and let the sauce reduce if needed using sauté.
- → How can I tell when it’s ready?
- If the beef breaks apart easily with a fork, it’s perfect. Still tough? Let it cook longer until it's soft and tender.
- → What makes a good side for this dish?
- Pair it with creamy polenta, buttery mashed potatoes, or a mound of pasta. Crusty bread is a must for swiping up the sauce, plus a fresh green salad balances it out.
- → Is it okay to make ahead?
- Yes! The flavors get even better overnight. Cook it a day before, chill it, and reheat gently on the stove or in the oven before serving.