
 Pin it
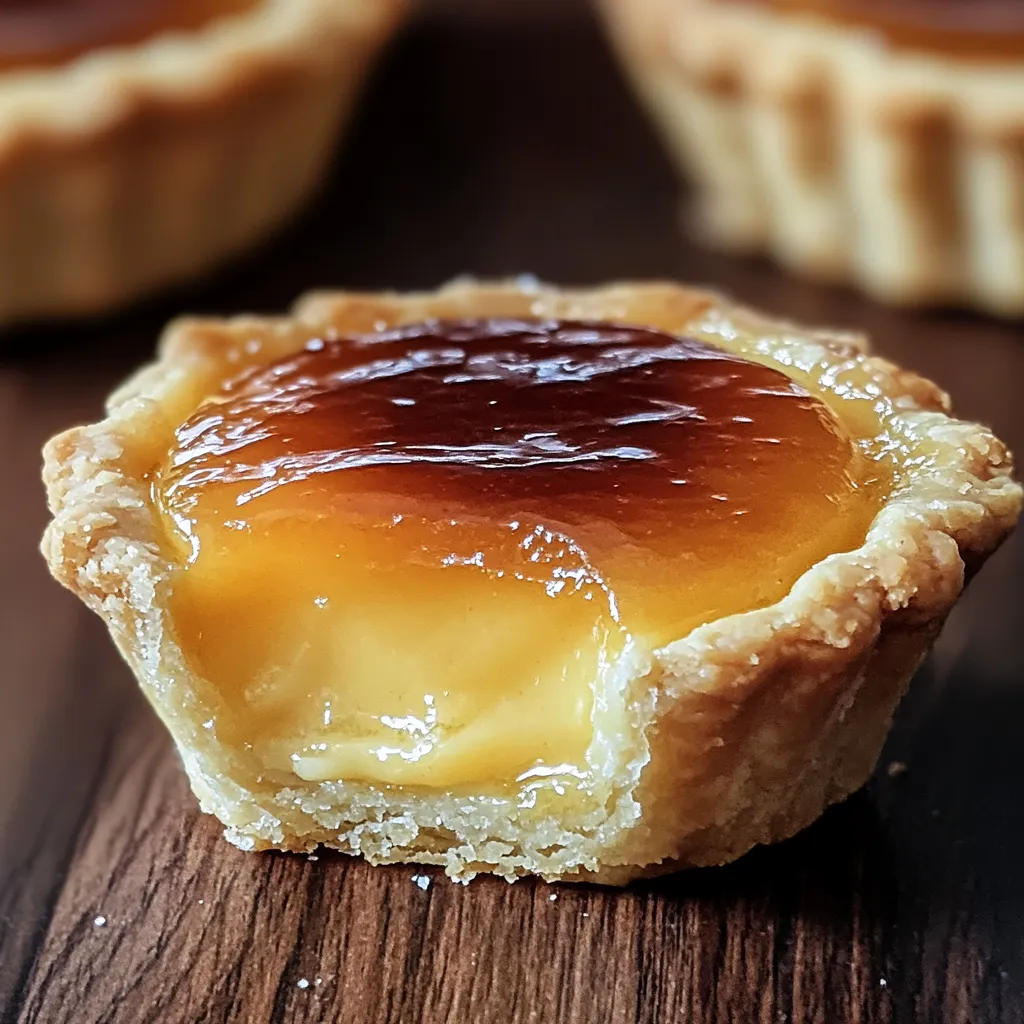
Turn ordinary kitchen staples into luxurious Canadian butter tarts with crumbly crust filled with sticky, sugary goodness. These timeless goodies marry a buttery shell with a deep brown sugar center that strikes just the right textural mix. Every mouthful gives you crisp outer edges and a warm, runny middle that's made these treats a cherished Canadian staple.
While trying out Canadian baking traditions, I found these butter tarts to be the ultimate soul food dessert, and they've become what everyone asks me to bring to our family Christmas parties.
Key Ingredients
- Premium butter: Delivers flaky shell and sumptuous filling
- New eggs: Give the filling its ideal consistency
- Brown sugar (dark): Brings rich toffee flavors
- True vanilla: Boosts the sweetness profile
- Corn syrup (golden): Makes that runny middle happen
Tart-Making Steps
- Nail The Shell
- Get dough to uniform thickness and ease it into your tart tins.
- Mix The Center
- Stir ingredients till they're smooth and fully blended.
- Pour Carefully
- Add mixture to shells, leaving space for it to rise.
- Keep An Eye Out
- Look for brown edges and a wobble in the middle.
- Get Timing Right
- Let them sit in pans briefly before moving them.
- Check Doneness
- Make sure filling has set up properly.
- Finish Them Off
- Enjoy them hot or cooled down.
My grandma from Canada always told me that getting perfect butter tarts comes down to waiting long enough. Taking time for them to set makes all the difference in the world.
 Pin it
Tasty Pairings
Make these tarts the star of a fancy dessert spread by setting up a Canadian sweets board. Put warm tarts next to scoops of vanilla ice cream, seasonal berries, and some maple syrup for drizzling over top. Try making both plain ones and some with nuts for options. When serving afternoon tea, use pretty old-fashioned plates and add some fresh whipped cream. They also make great gifts when packaged in assorted flavor collections.
Fun Twists
Take these adaptable tarts to the next level by playing with different mix-ins. Add some crunchy pecans or walnuts, or throw in raisins for that old-school flavor. Switch things up by using real maple syrup instead of corn syrup, or drop in dark chocolate bits for extra indulgence. A pinch of cinnamon or nutmeg can bring nice warmth to the flavor.
Keeping Them Fresh
Keep that perfect bite by storing them right. They'll stay good at room temp in sealed containers for 3 days max. If you need longer, freeze completely cooled tarts for up to a month. When it's time to eat them, let them come to room temperature or warm them slightly for the best taste. For giving as gifts, stack them in pretty boxes with parchment paper between layers.
 Pin it
Final Thoughts
These Canadian butter tarts have become my go-to dessert when I want to share a taste of Canadian heritage. They're easy to make, but paying attention to mixing and baking details creates genuine treats that bring smiles with every bite. Just remember, good technique and the right ingredients will get you perfect results every time.
Frequently Asked Questions
- → Can I make them without gluten?
- Use a gluten-free flour mix instead of regular flour to adapt the recipe.
- → Do I have to add raisins or nuts?
- Nope! Leave them out for a smooth and plain buttery filling.
- → How should I store leftover tarts?
- Keep them in a sealed container at room temp for 3 days, or pop them into the fridge to enjoy later.
- → Are these freezable?
- Yes, freeze them baked or unbaked for up to 3 months. Let thaw when ready to serve.
- → What drinks or sides go well with them?
- Serve alongside a hot cup of tea, coffee, or pair with some ice cream for ultimate indulgence.